Lessons from building AI agents that actually work.
These aren't proven theorems. They're field notes from building real agents, and every one points back to a source you can check. Fifty principles that hold no matter which model you use, covering context, reasoning, retrieval, scope, instructions, evaluation, safety, architecture, operations, and the people in the loop. The format is borrowed from Laws of UX.
I built this from auditing real agents in production. Install the skill, point it at your repo, workflow export, or transcripts, and it checks prompts, tools, retrieval, evals, security, and handoffs against the 50 laws.
For each law you get the mechanism underneath it, the warning signs, a worked example, a recipe for applying it, and the sources. All 50, in one place.
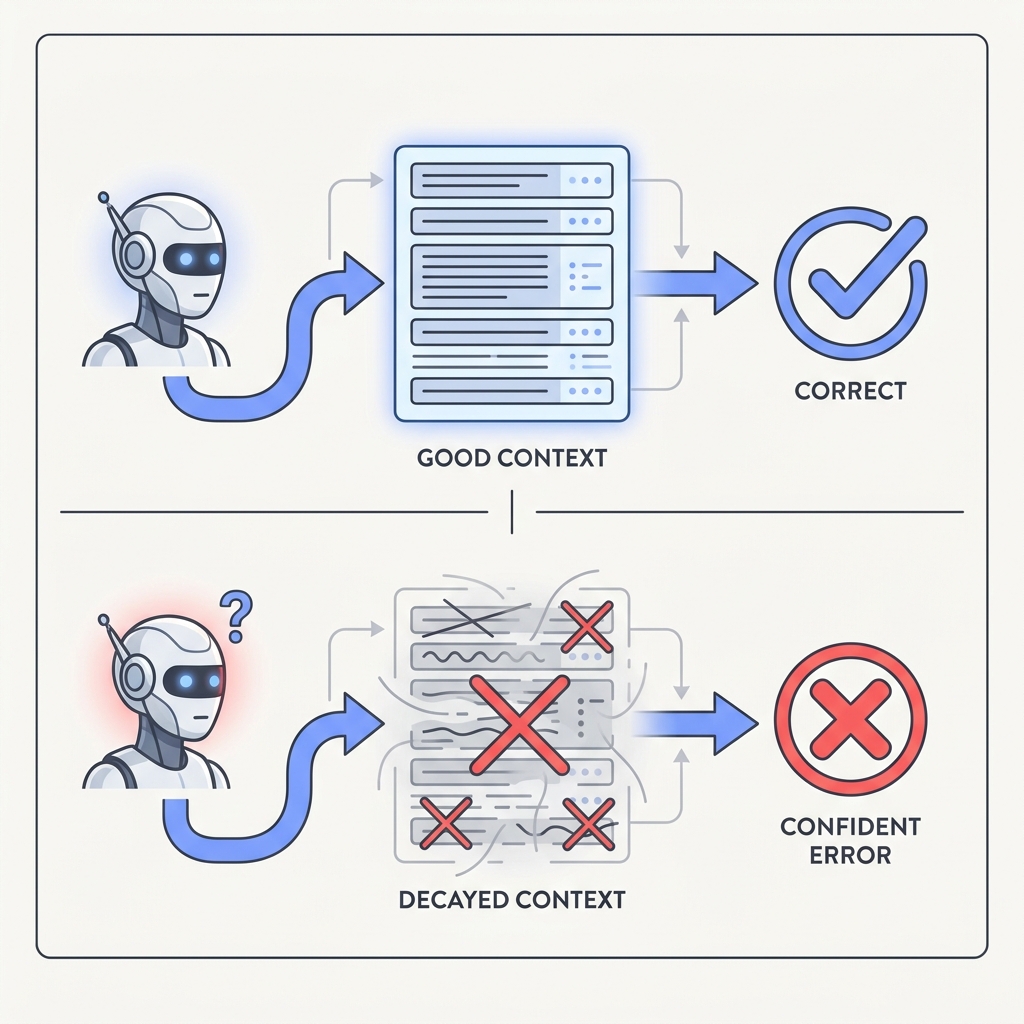
Most bad outputs come from missing, stale, or conflicting context, not from a model that can't think. The model often reasons fine over the picture it was handed and still lands wrong, because the picture was wrong to begin with. Bad context produces confident bad answers.
The takeaway
Before you reach for a bigger model, look at exactly what the agent saw. Fix freshness, relevance, and contradictions first. A lot of bugs that look like bad reasoning disappear once you do.
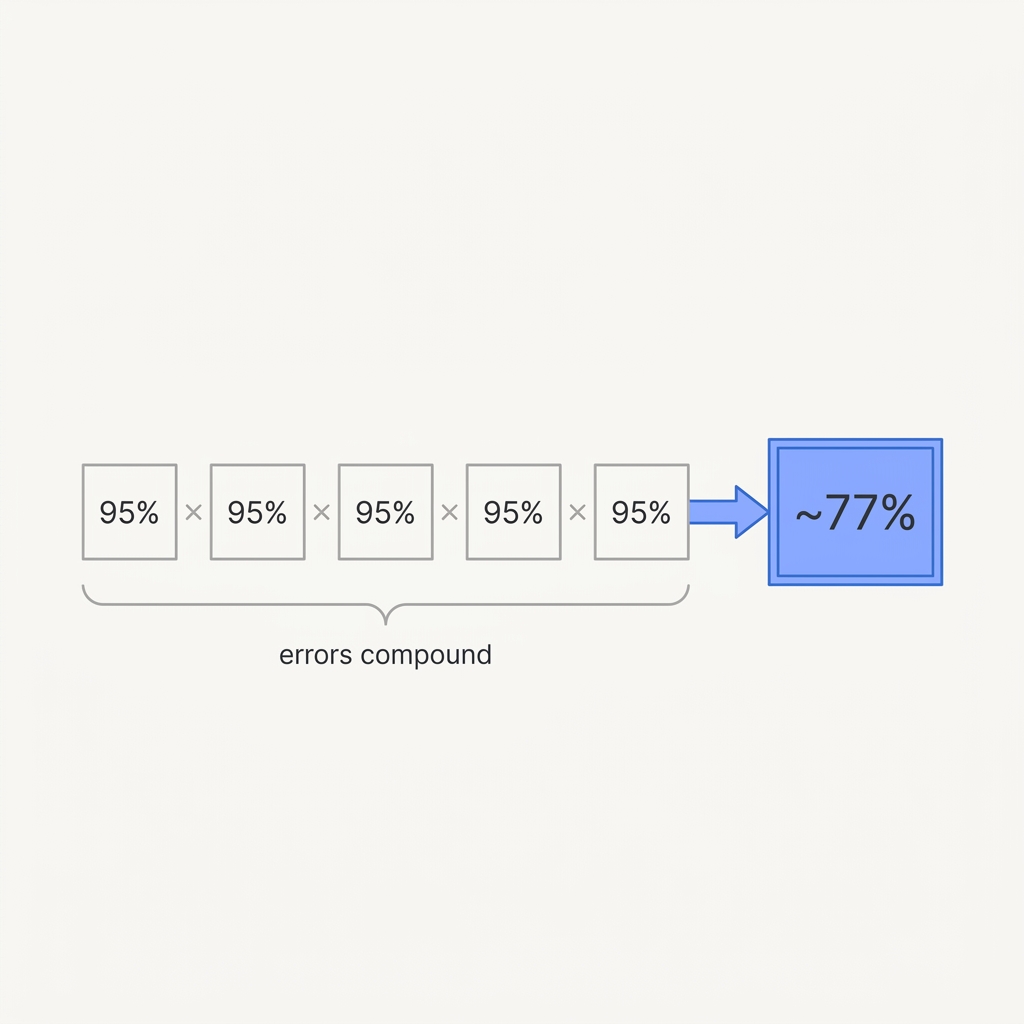
A step that works 95% of the time, run ten times in a row, gives you the right final answer only about 60% of the time. The failures don't announce themselves. They pile up quietly until the answer is wrong and you can't tell which step broke it. Every link you add lowers the ceiling for the whole chain.
The takeaway
Count your steps. Make the chain shorter, push up per-step reliability, and add checkpoints between stages so one bad step can't quietly poison everything after it.
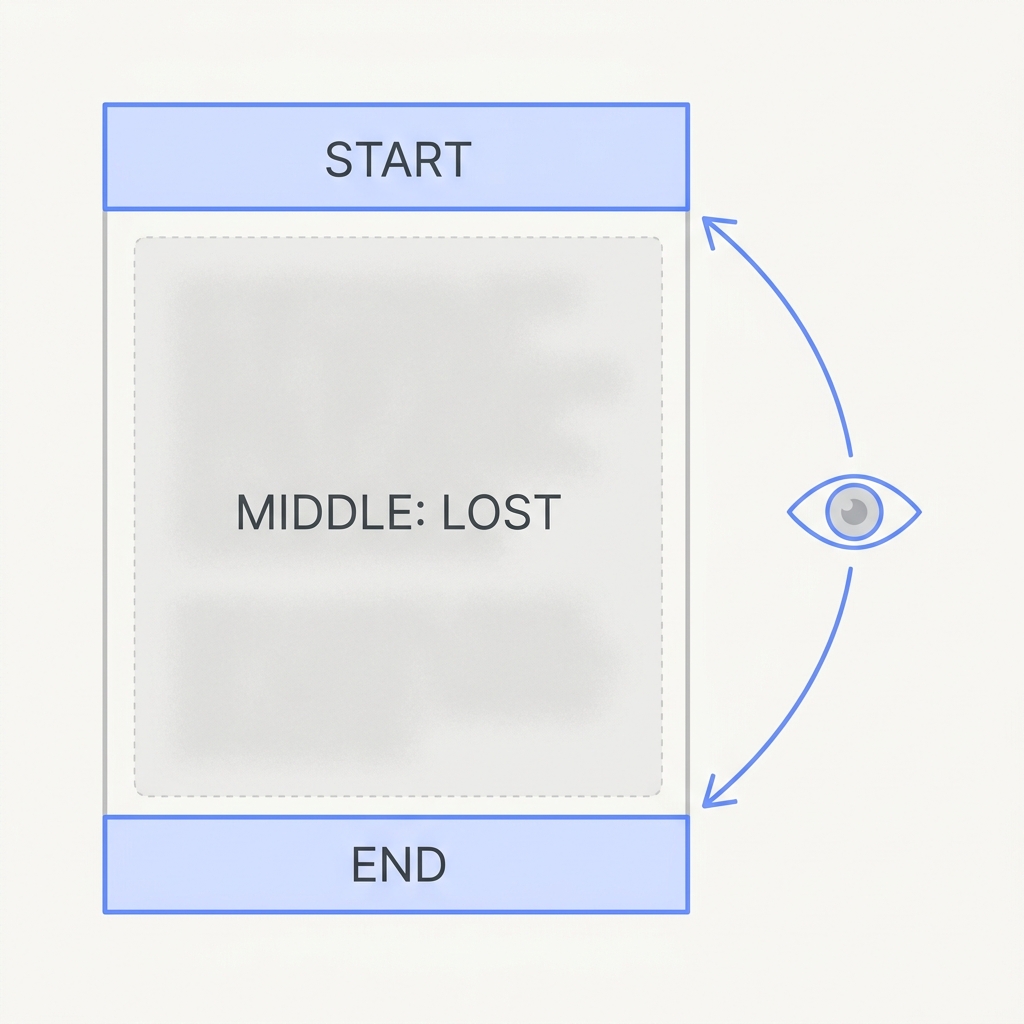
Give a model a long input and it pays the most attention to the start and the end. Facts buried in the middle quietly lose their grip. They're present but basically ignored. That's the worst kind of bug, because the information was technically in context and nothing looks wrong.
The takeaway
Put the most important instructions and findings at the top or the bottom. Lead with a summary, break things up with clear headers, and don't assume that 'in the context' means the model actually used it.
An agent will write the summary before doing the work if you let it. Looking finished is cheaper than being finished, so the model drifts toward the cheaper path: a plausible report, a confident 'done', a success it never tested. The output reads complete. The work isn't. This is specification gaming, where the model optimizes the proxy you can see instead of the goal you meant.
The takeaway
Ask for evidence, not claims. Make the agent produce the actual artifact, the passing test, the diff, the file, the citation, before it can say it's done. Check the proof, not the promise.
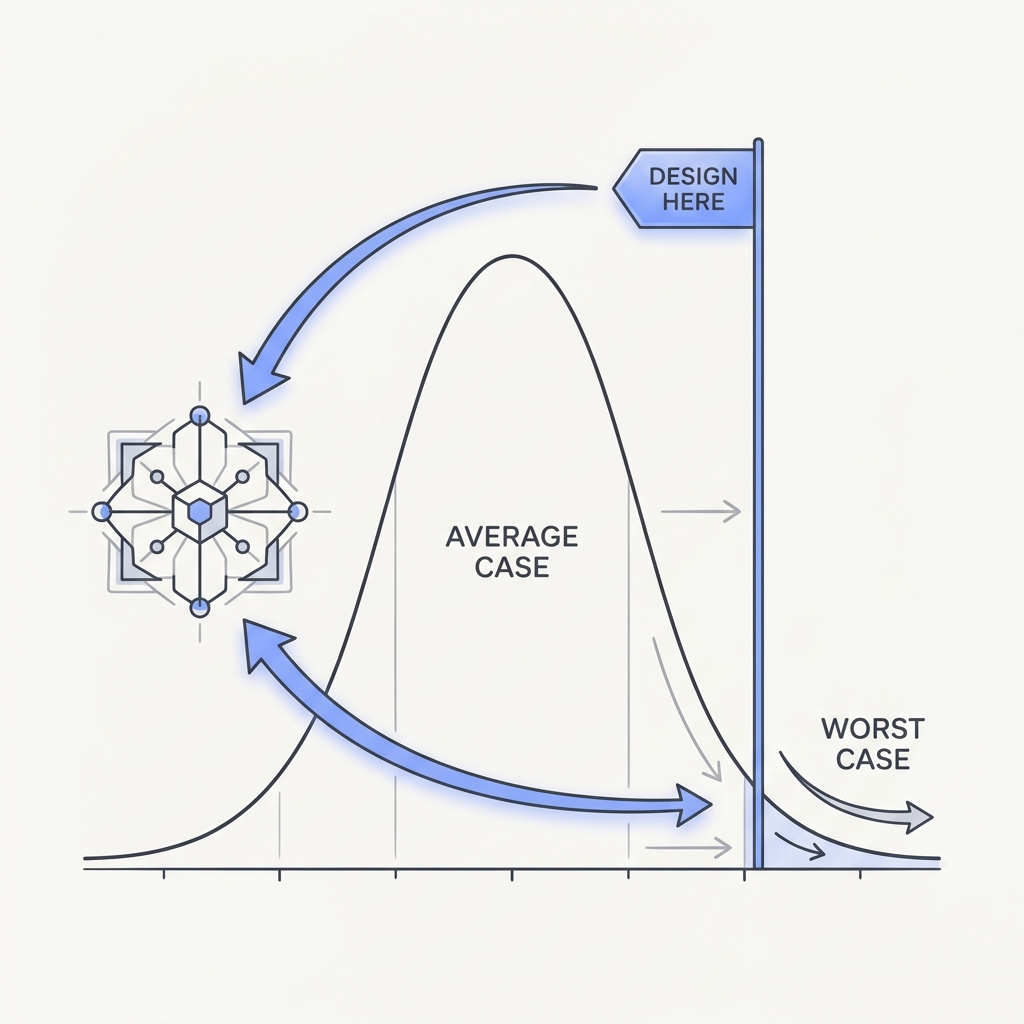
When a system says 'up to 24 hours', 'may retry', or 'no guaranteed latency', those limits are the numbers that matter. Designing for the typical case works right up until the rare event, which is exactly when failure costs the most. At scale, those failures aren't edge cases. They're the normal state of things.
The takeaway
Whenever you're handed a maximum or a 'may', do the math against the ceiling. Size your timeouts, retry budgets, and SLAs for the worst run you can reasonably expect, not the one you usually see.
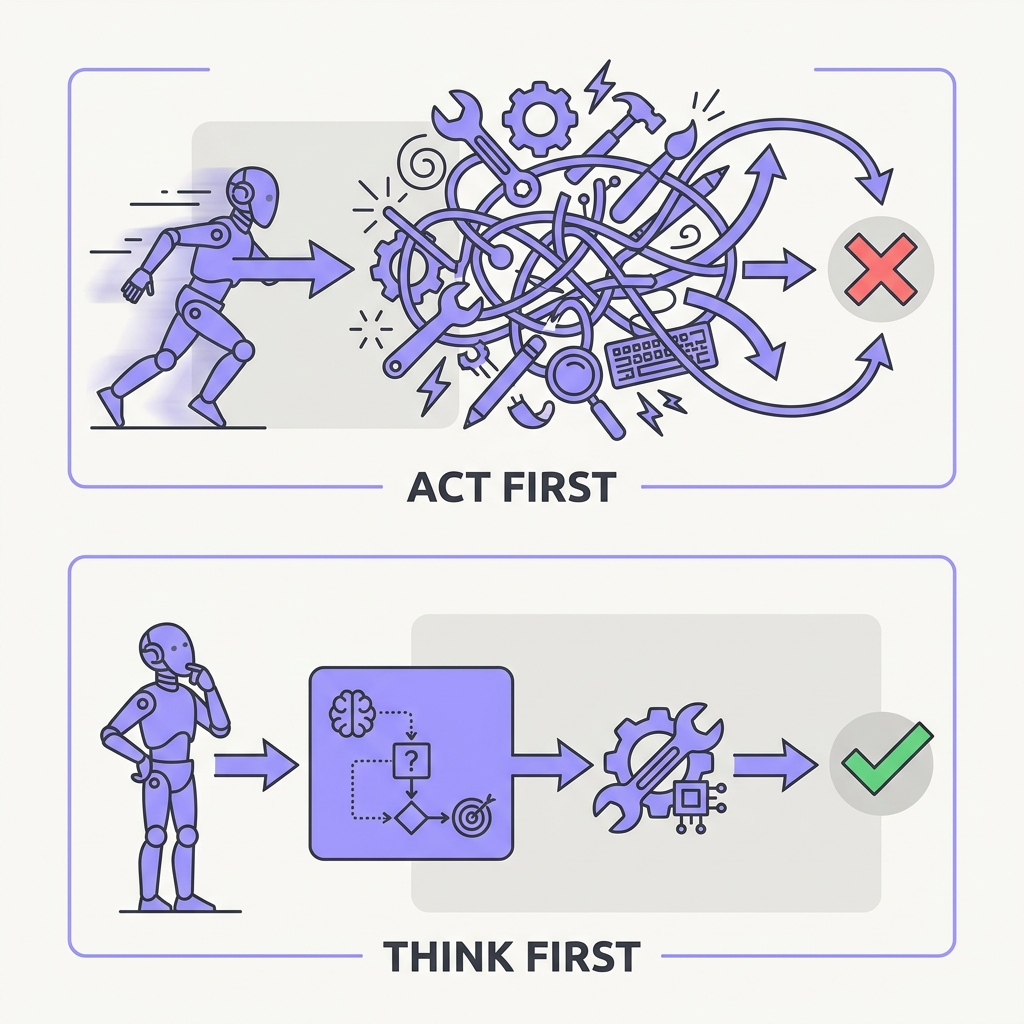
Asking a model to reason step by step before answering measurably improves results, and for an agent the stakes are lopsided. A reasoning trace is cheap and easy to undo. An executed action, a sent email, a dropped table, a charged card, is not. Letting the model lay out its plan in tokens before it commits is the cheapest insurance you can buy.
The takeaway
Force an explicit reasoning or plan step before any tool call that has side effects. Burned tokens are far cheaper than a wrong action.
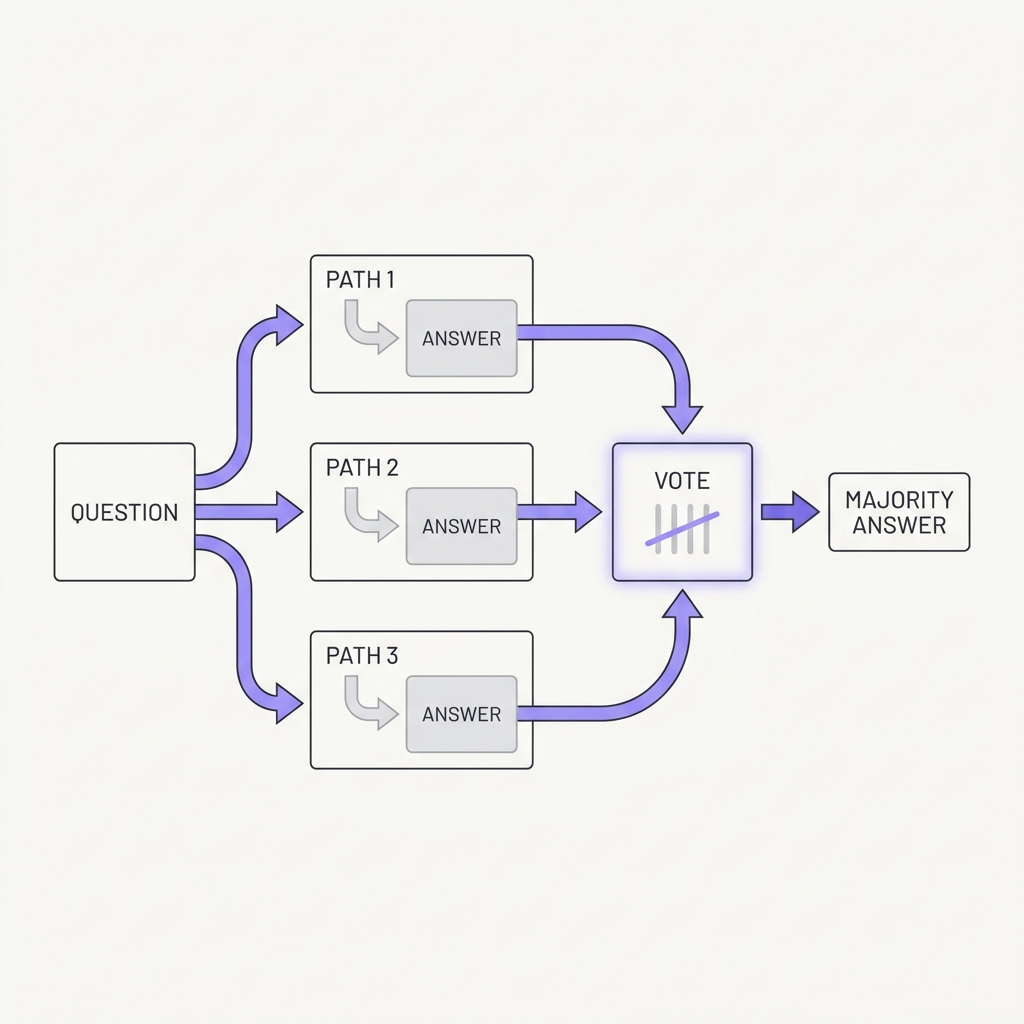
A single greedy chain of thought is fragile. Sample several independent reasoning paths and take the majority answer, and you get large, consistent gains. Correct reasoning tends to converge while mistakes scatter, so agreement across independently generated plans is a real signal worth trusting before you act on something that matters.
The takeaway
For high-stakes decisions, generate the plan or answer a few times and act on the consensus, not on the first chain you happened to get.
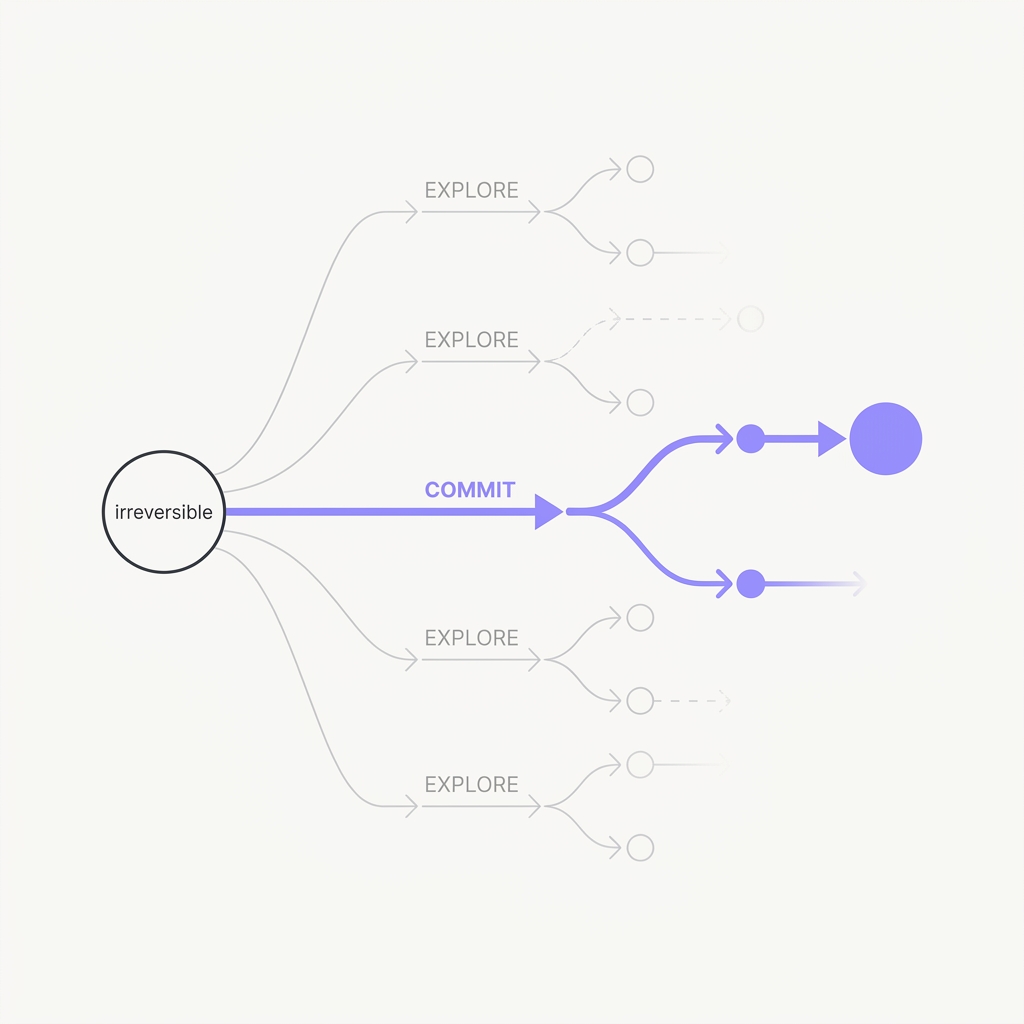
For decisions you can't take back, explore before you commit.
The principle
Tree-of-Thoughts turns linear reasoning into a search: generate several candidate thoughts, judge them, look ahead, and backtrack instead of being stuck going left to right. It matters most when an early choice is pivotal, which is exactly the spot where an agent's first irreversible action sets up everything downstream. Cheap, recoverable steps don't need it. Pivotal ones do.
The takeaway
When an early action carries a lot of weight or can't be undone, have the agent generate and score a few candidate plans before it picks one. Don't let it commit to the first path.
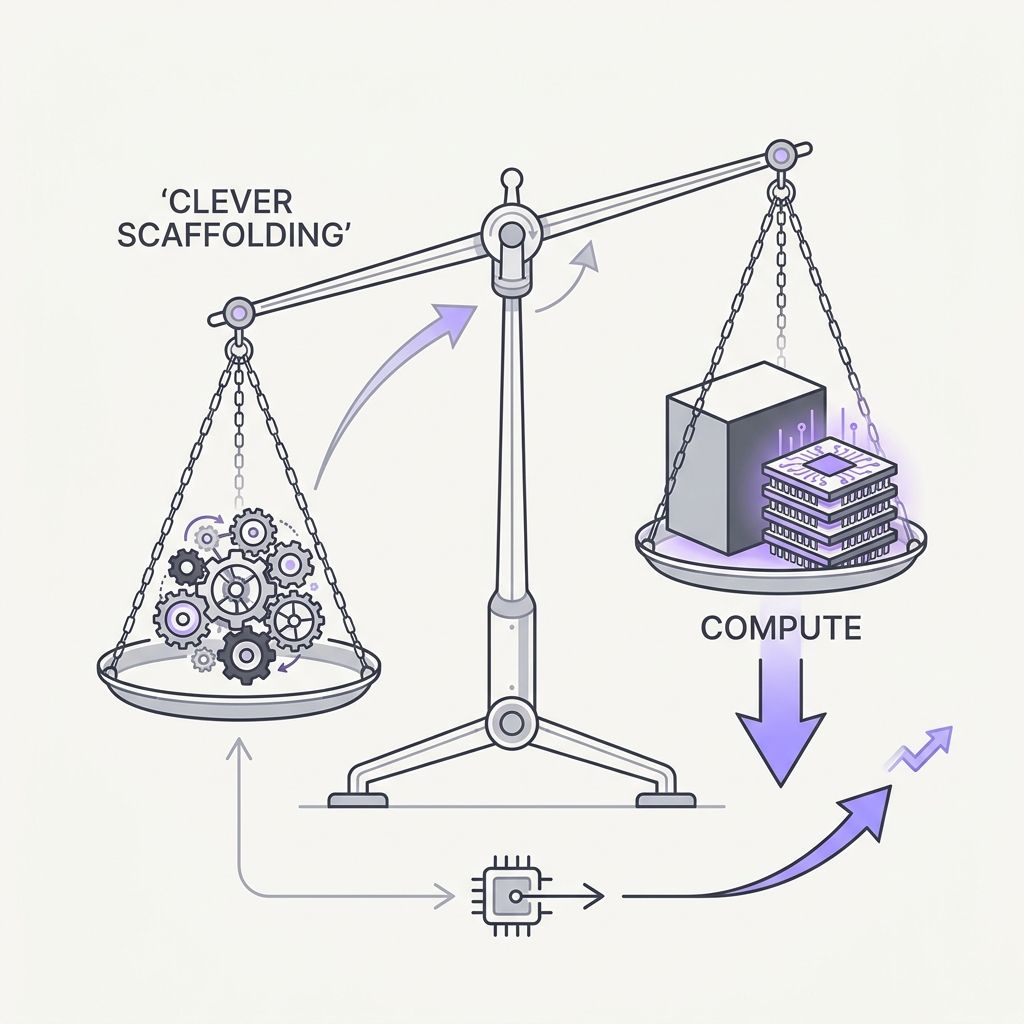
The Bitter Lesson isn't a ban on structure. It's a warning against hand-coded cleverness that quietly becomes a ceiling. Use code where you need guarantees and thin scaffolds for today's weak spots, but keep asking whether a simpler, more model-driven version now works better.
The takeaway
Prefer the thinnest scaffold that works. Keep deterministic boundaries where they protect a guarantee, and delete your bespoke prompt chains or heuristics once the model no longer needs them.
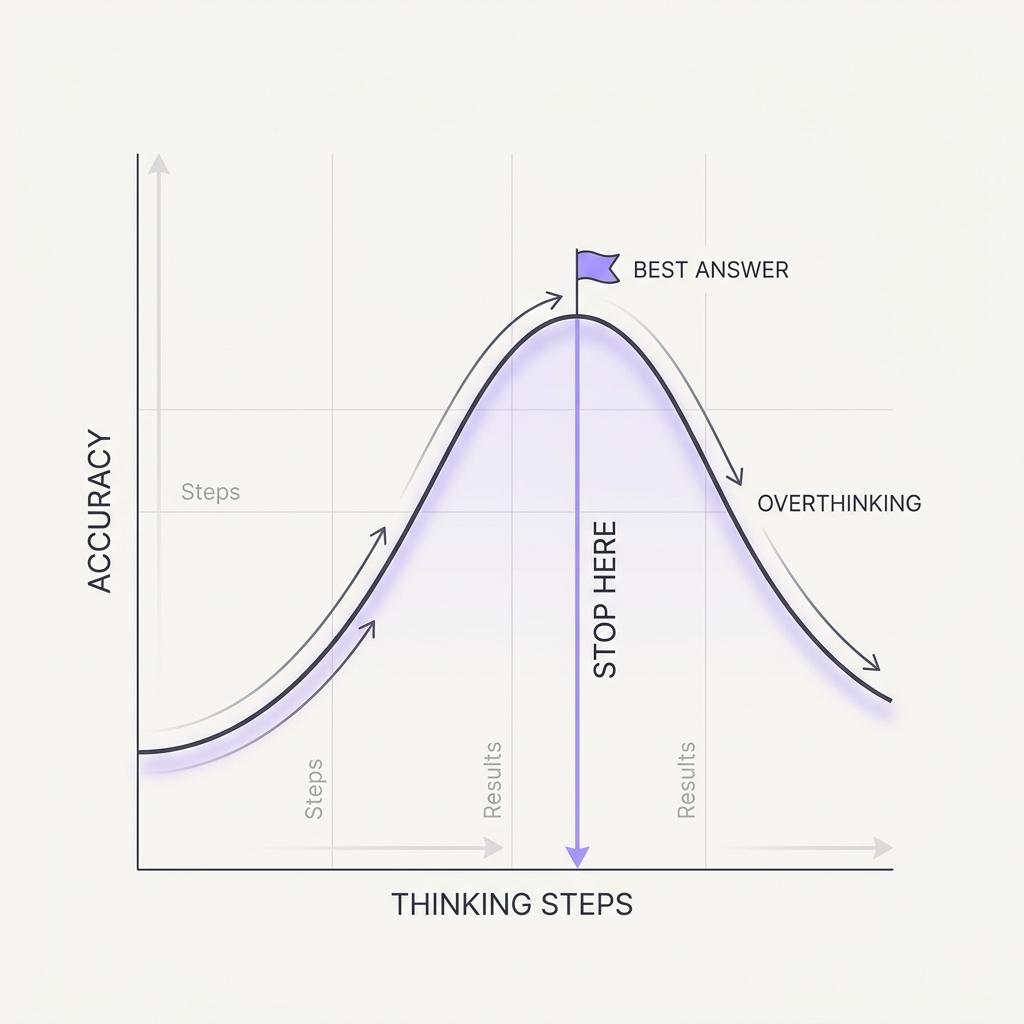
Extra reasoning past the answer is wasted, or a wrong turn.
The principle
More reasoning isn't automatically better. On easy tasks it just burns latency and money for nothing. On some tasks the model finds the answer early and then talks itself out of it. Reasoning depth has a useful range, not an endless upside.
The takeaway
Match the thinking budget to the task. Cap or skip extended reasoning on simple paths, and lean on external checks rather than endless deliberation on the hard ones.
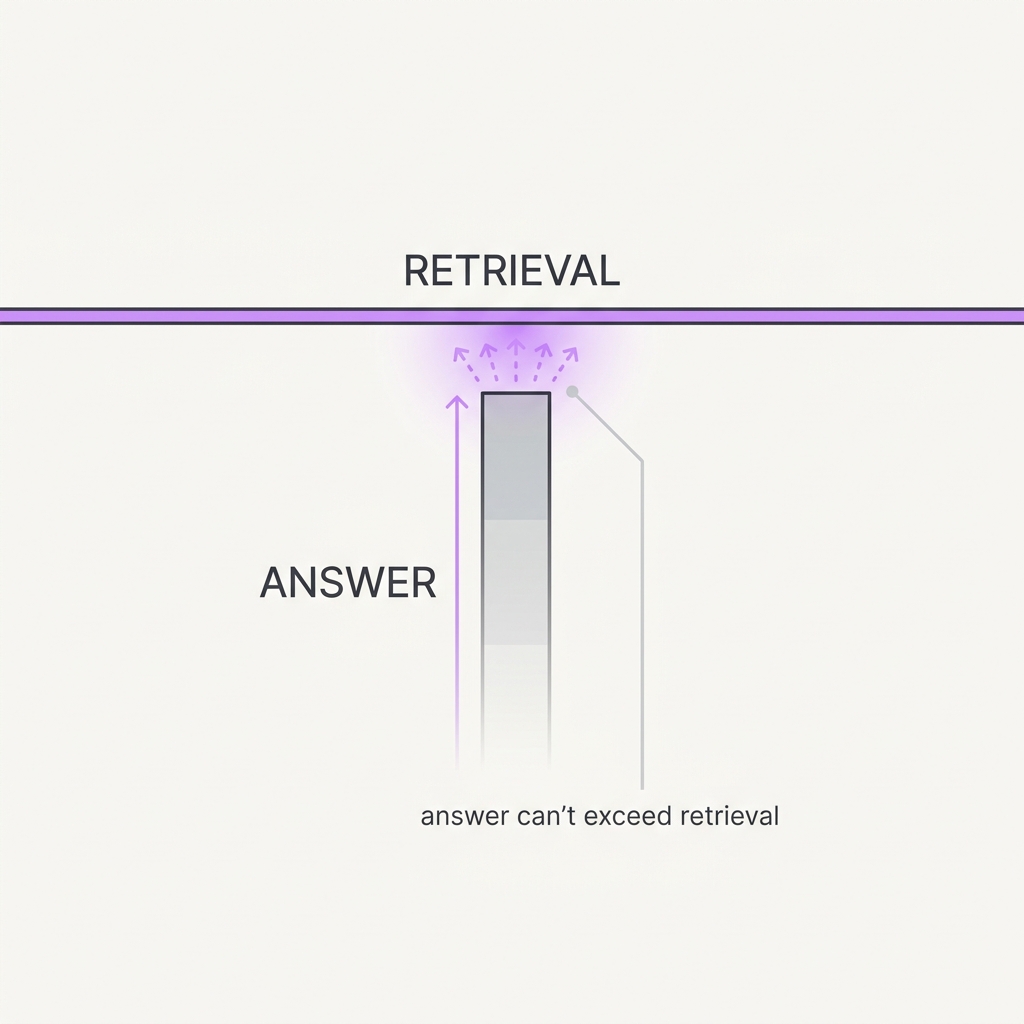
For facts the model doesn't already know well, the answer can only be as good as the evidence you retrieve. If the right passage never reaches the context, the generator fills the gap from memory and guesswork. Retrieval quality sets the practical ceiling for any grounded answer.
The takeaway
Measure retrieval before you touch prompts or models. If the passage that holds the answer isn't showing up, fix recall, chunking, ranking, or query expansion first.
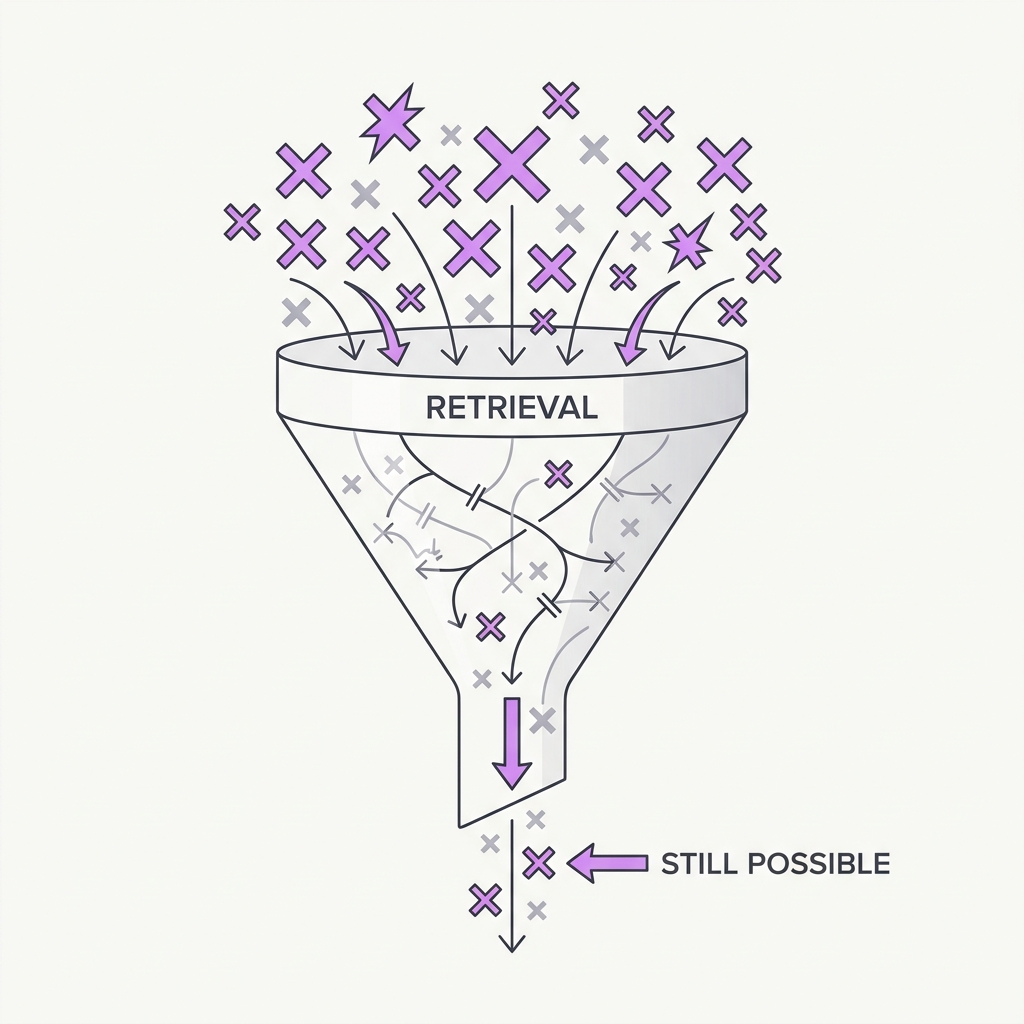
Retrieval reduces hallucination. It doesn't eliminate it.
The principle
Vendors marketed RAG legal tools as 'hallucination-free', but a Stanford audit found they still made things up 17 to 33% of the time. Handing the model a source doesn't force it to use that source faithfully. It can misread it, over-generalize, or cite a real document for a claim the document never makes. Grounding lowers the error rate. It never gets it to zero.
The takeaway
Treat 'we use RAG' as risk reduction, not a safety guarantee. Check that generated claims actually trace back to the retrieved passage, and never sell a grounded system as hallucination-proof.
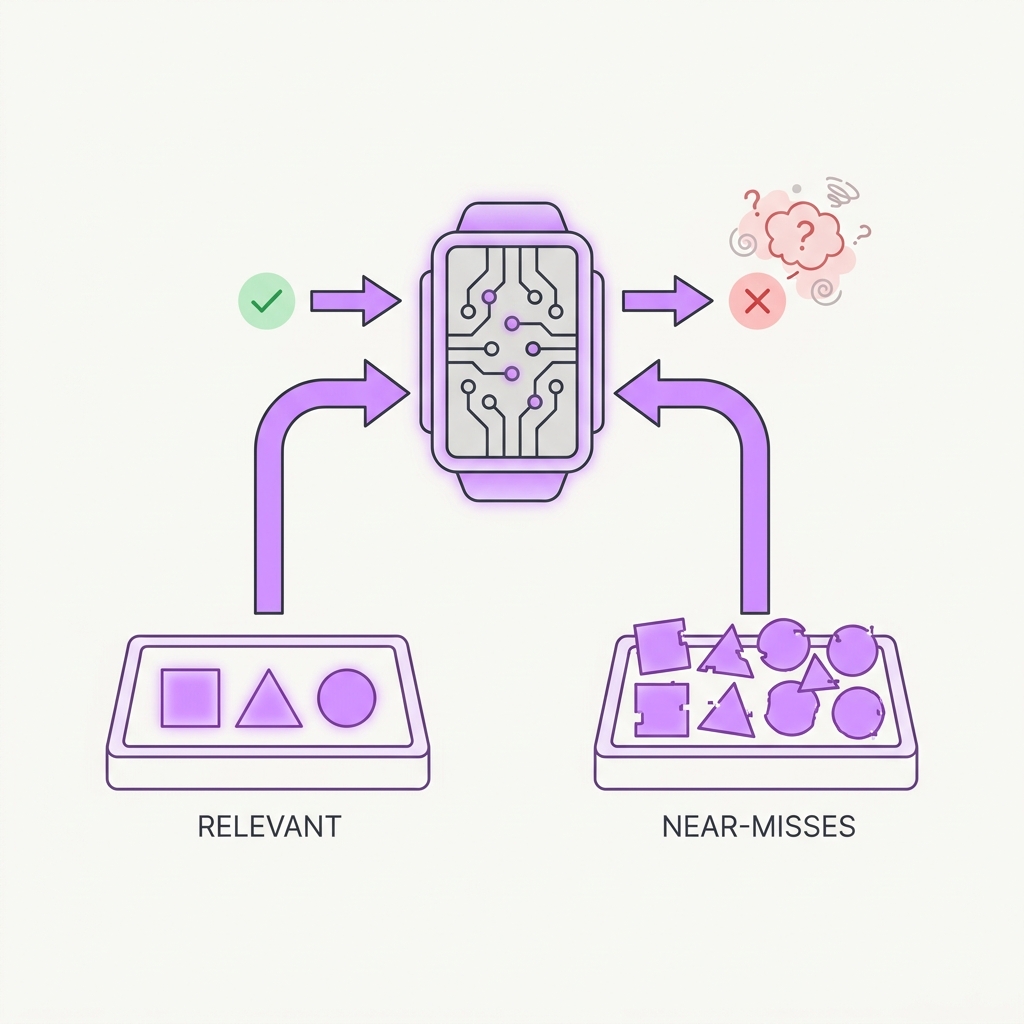
Near-misses poison context worse than random noise.
The principle
It's backwards from what you'd expect: documents that are on-topic but don't answer the question hurt more than clearly irrelevant ones, because they look plausible and pull the generator toward answers that are wrong but adjacent. Stuffing more 'kind of relevant' chunks into the context lowers accuracy instead of improving coverage. Precision at the top beats breadth.
The takeaway
Optimize for precision, not recall at any cost. Rerank hard and filter out the distractor chunks. A smaller, sharper context beats a padded one.
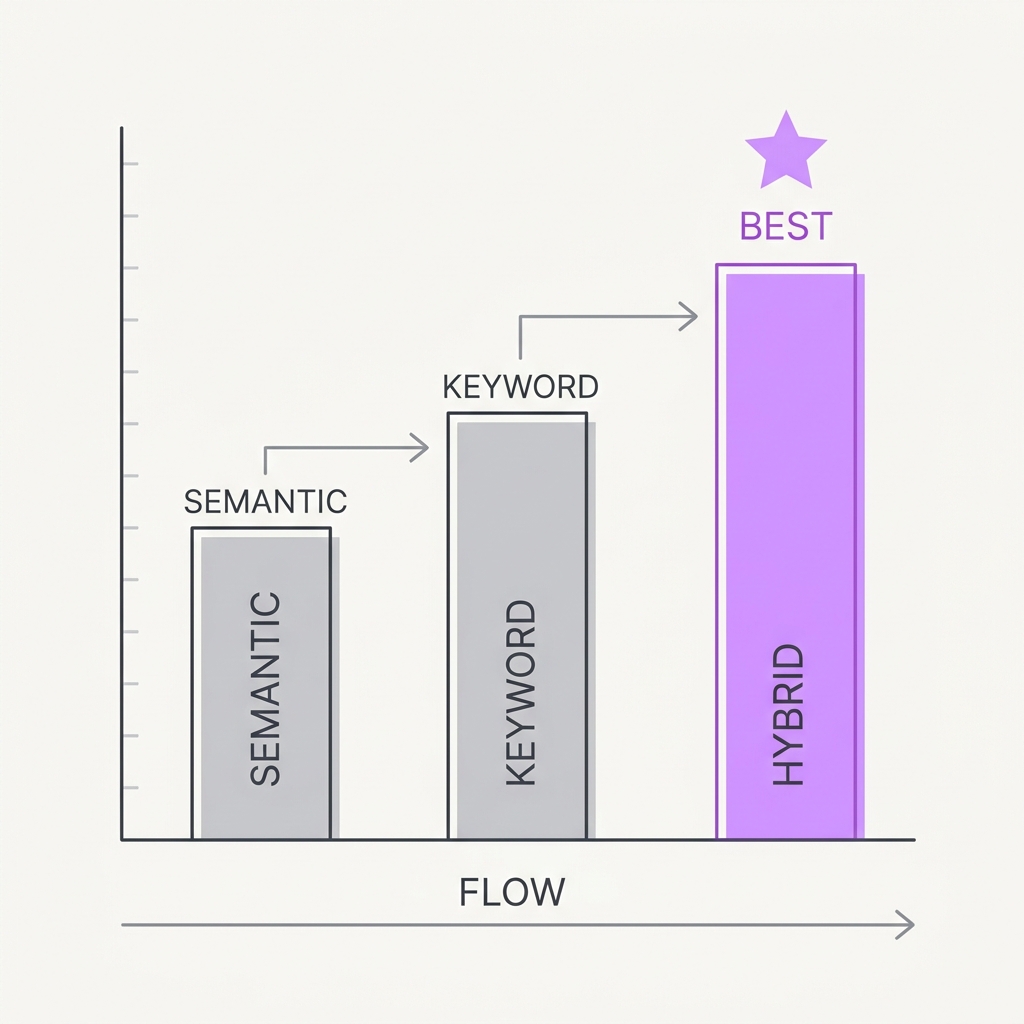
Pure semantic search quietly loses to a 40-year-old baseline.
The principle
Dense embedding retrievers win in-domain but often lose to BM25 once you step outside the training distribution. Exact-match terms, product codes, names, and rare jargon are where embeddings blur and plain keyword search shines. In-domain accuracy doesn't predict how well a retriever generalizes, and combining the two is how strong systems cut their retrieval failures dramatically.
The takeaway
Default to hybrid search, semantic plus keyword (BM25), instead of embeddings alone, especially for jargon, IDs, and out-of-domain queries. Add a reranker on top to compound the gains.
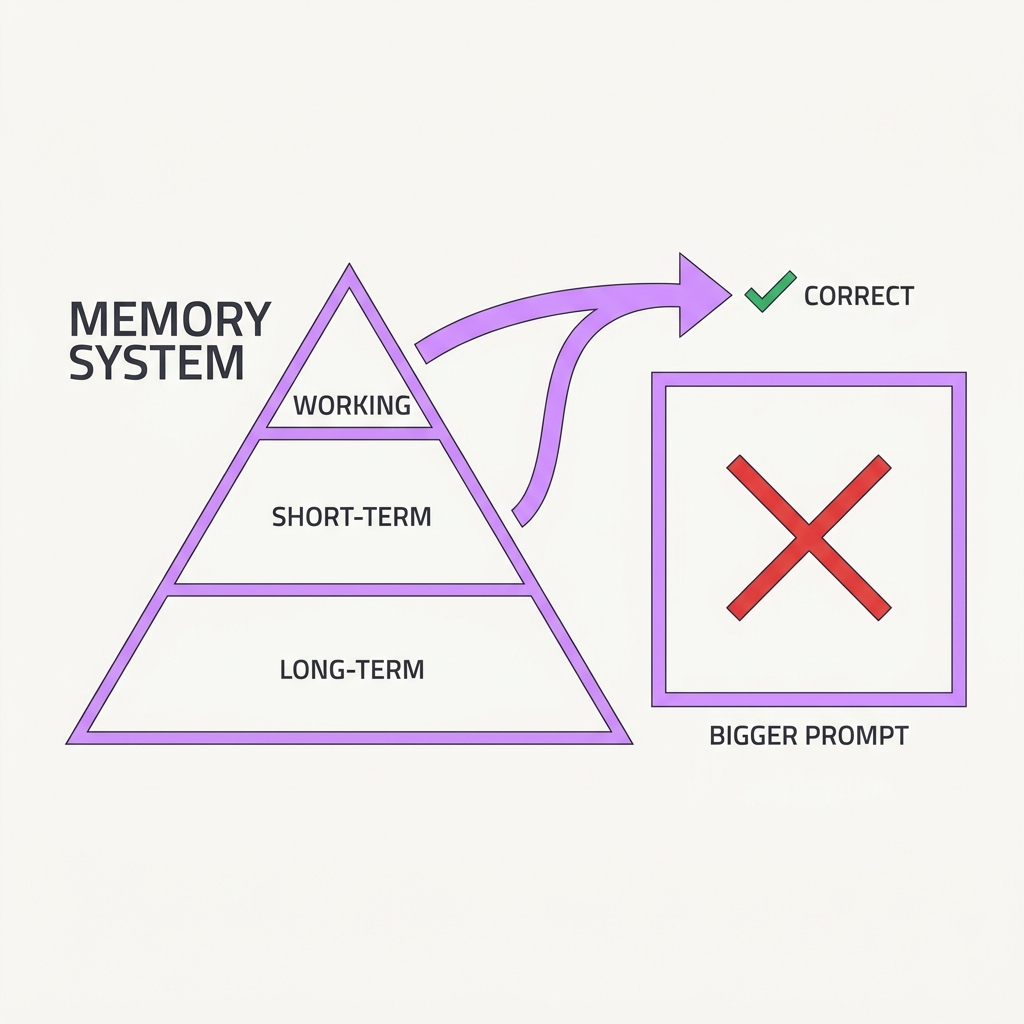
Give the agent a hierarchy, not just a bigger prompt.
The principle
Think of the context window like a computer's RAM. The agent should actively move information between a small in-context working set and large external storage, deciding what to keep, what to evict, and what to recall. Cramming everything into one flat window mixes up working memory with long-term storage and hits hard limits fast. Durable memory needs explicit tiers and self-managed retrieval.
The takeaway
Build memory in tiers: working context, recallable summaries, and external stores, each with clear rules for what gets promoted or evicted. Don't lean on raw context length to do the job.
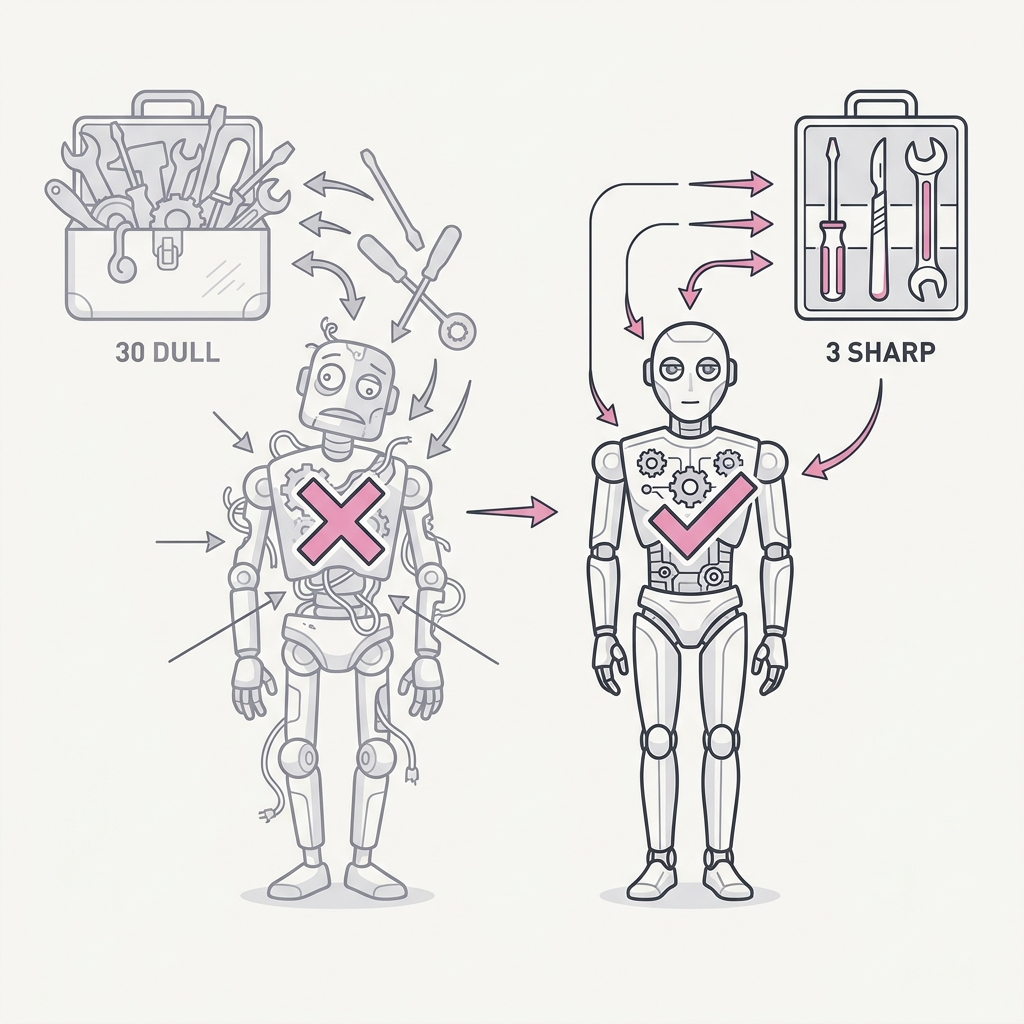
A scoped agent with a handful of well-chosen tools beats a generalist drowning in options. Every extra tool is another way to choose wrong, another branch to test, another failure to debug. More capability surface means more liability surface, so breadth you don't need is just risk you signed up for.
The takeaway
Start narrow. Add a tool only when a real task needs it, not because it might come in handy someday. When tool selection gets flaky, the fix is usually fewer tools, not better instructions.
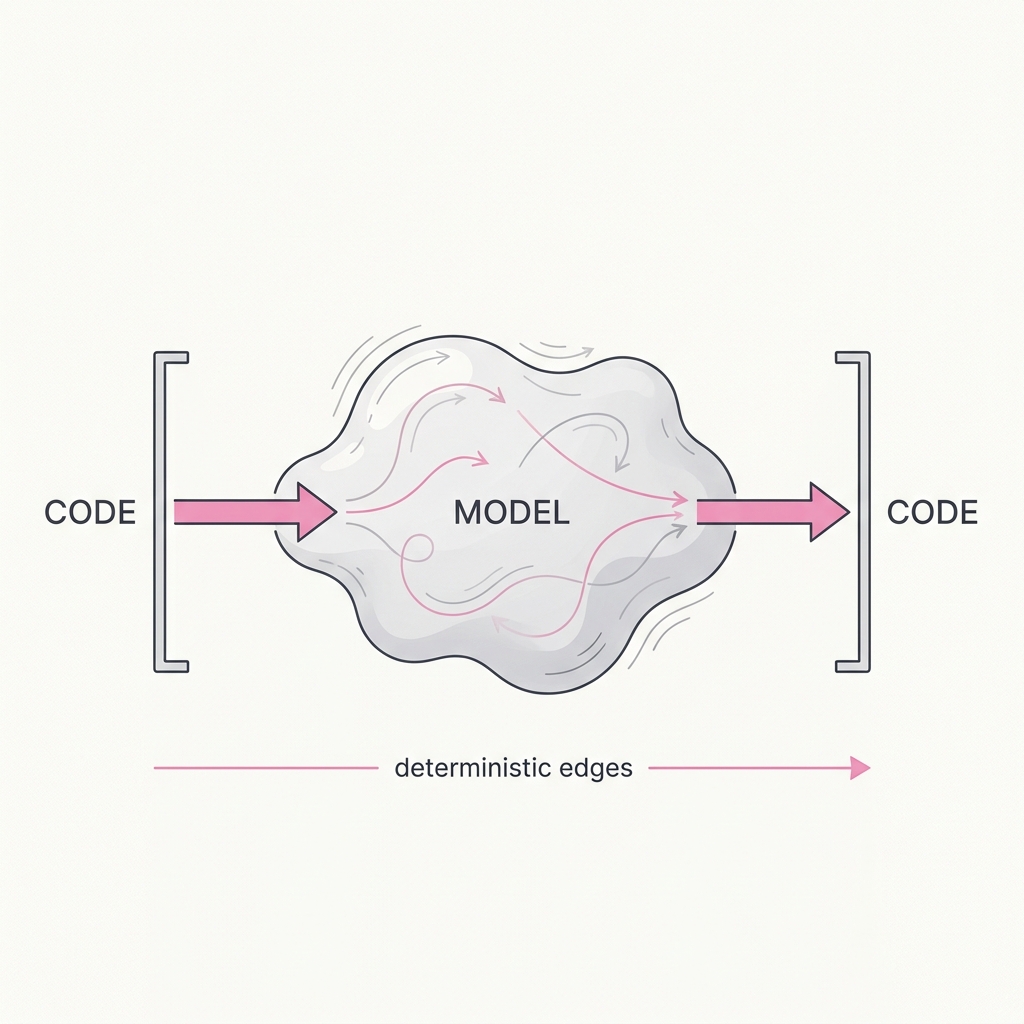
Validation, schema enforcement, retries, routing, and access control aren't the model's job. They're code's job. The model is for judgment under ambiguity, and deterministic code is for everything that has to be correct every single time. Asking a probabilistic system to guarantee a contract is asking for the 0.1% that ruins you.
The takeaway
Wrap the model in code you can trust. Let it reason in the soft middle, but put a deterministic shell around the inputs and outputs so your hard guarantees never ride on a sampling roll.
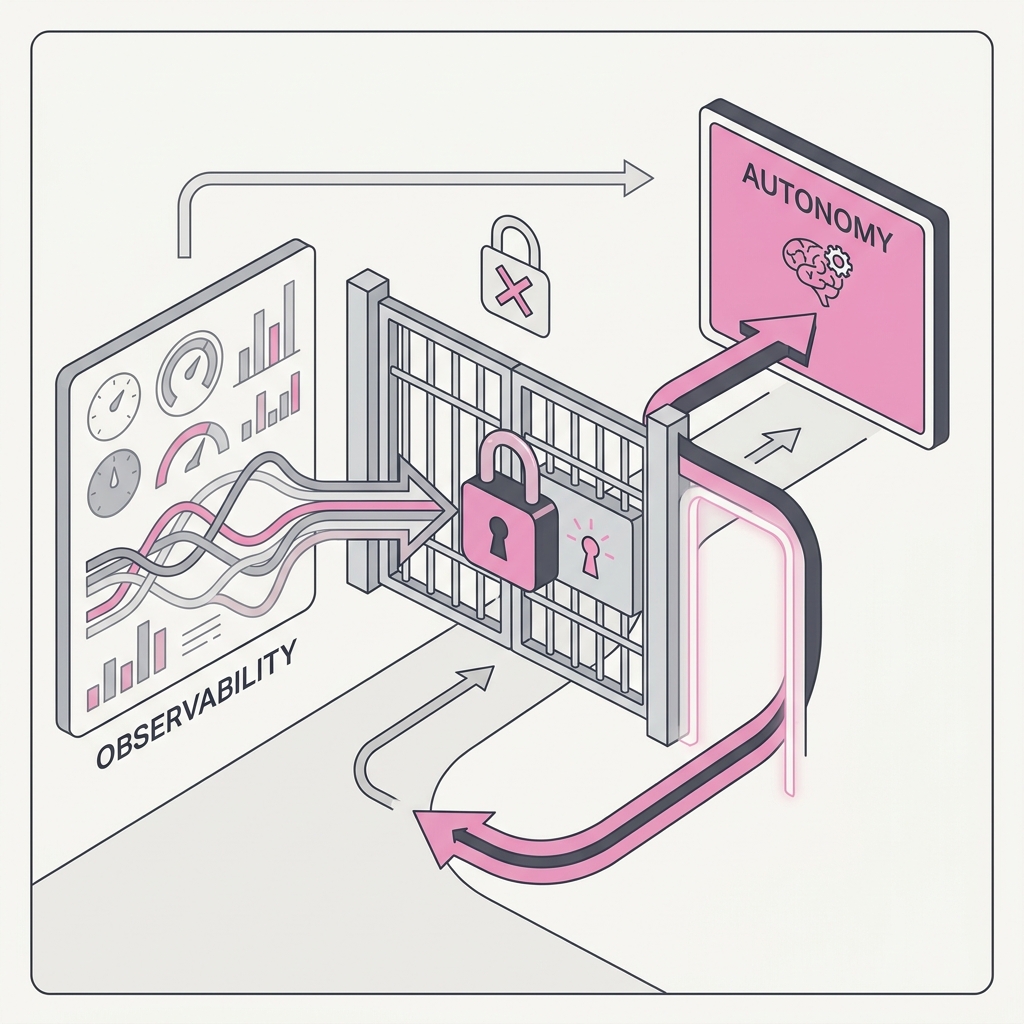
If you can't see what the agent did and why, every decision, tool call, and input, then you can't safely let it act on its own. You're not trusting it, you're hoping. Autonomy without a trace is an outage you haven't found yet, and when it breaks you'll have no way to learn why.
The takeaway
Build the trace before you grant the freedom. Make every step inspectable after the fact, then widen autonomy only as far as your visibility actually reaches.
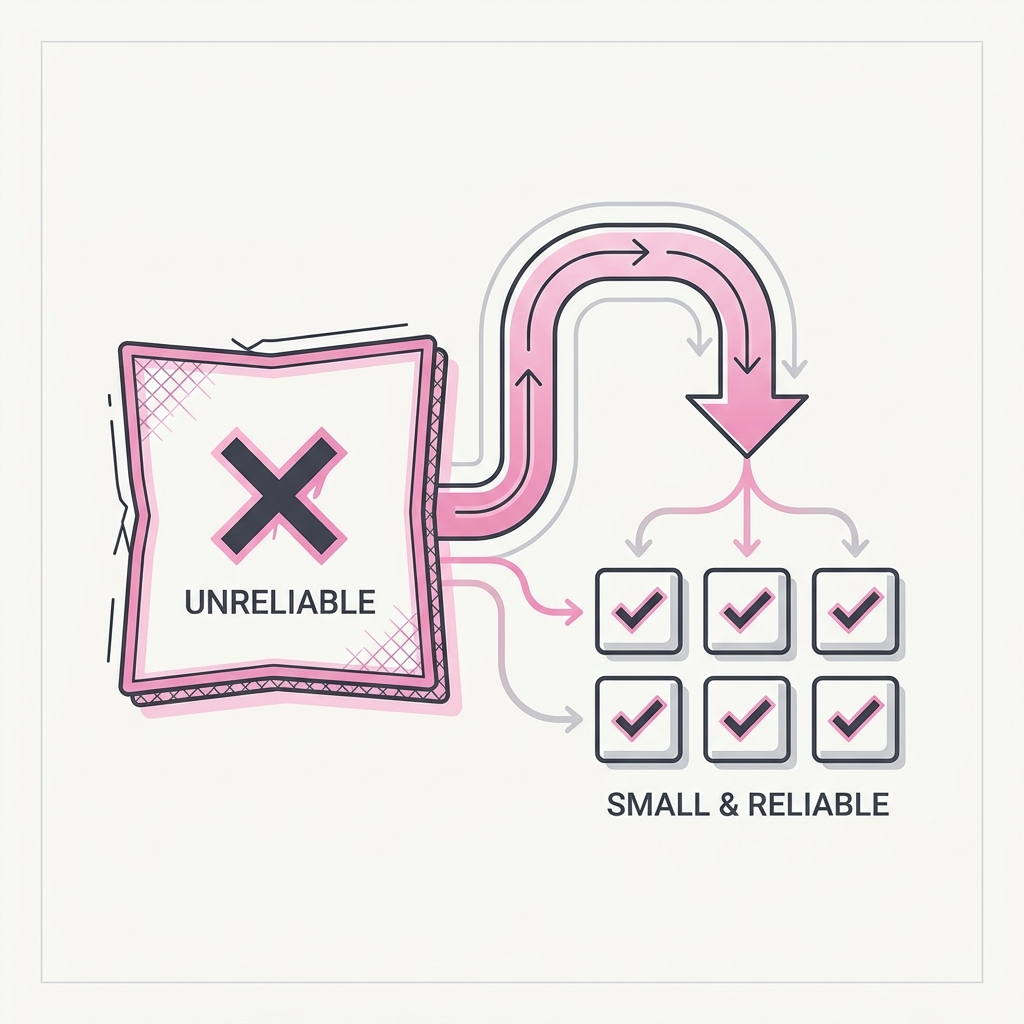
When it's unreliable, split it. Don't supersize it.
The principle
When output is inconsistent, the instinct is to throw more at the same shape: a bigger model, a longer context, more tokens. That rarely fixes a structural problem. It just spreads attention thinner. Splitting the task into focused, single-purpose passes almost always beats trying to make one overloaded pass smarter.
The takeaway
Break the work into stages that each do one thing well. Analyze per item, then reconcile across items. A focused pass beats a heroic one trying to do everything at once.
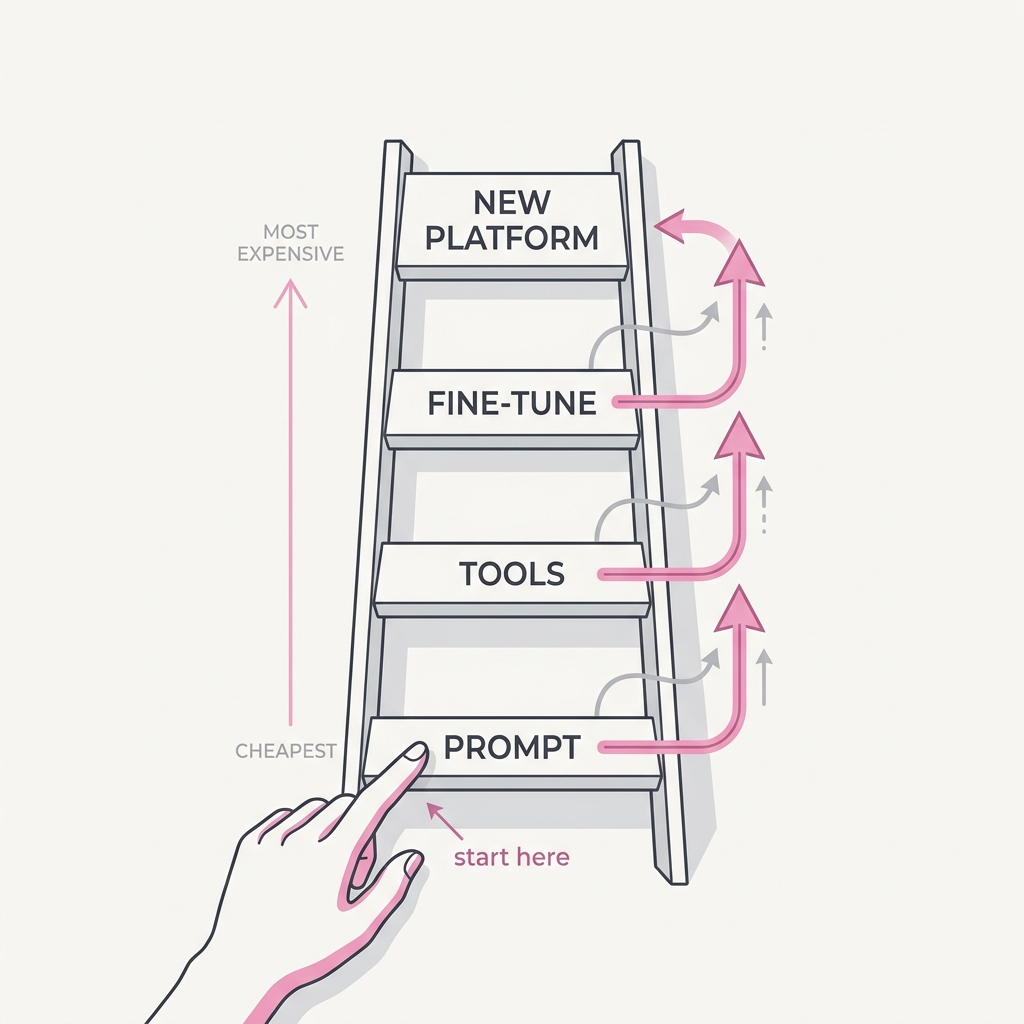
When something misbehaves, the cheapest fix that addresses the root cause usually wins, and that's usually clearer instructions, a better tool description, or a concrete example, not a new classifier, preprocessing layer, or pipeline. Infrastructure feels like progress, but it often just wraps an unsolved prompt in more surface area.
The takeaway
Exhaust the prompt-level fixes before you build systems. Add infrastructure only once you've proven that words, examples, and scoping genuinely can't close the gap.
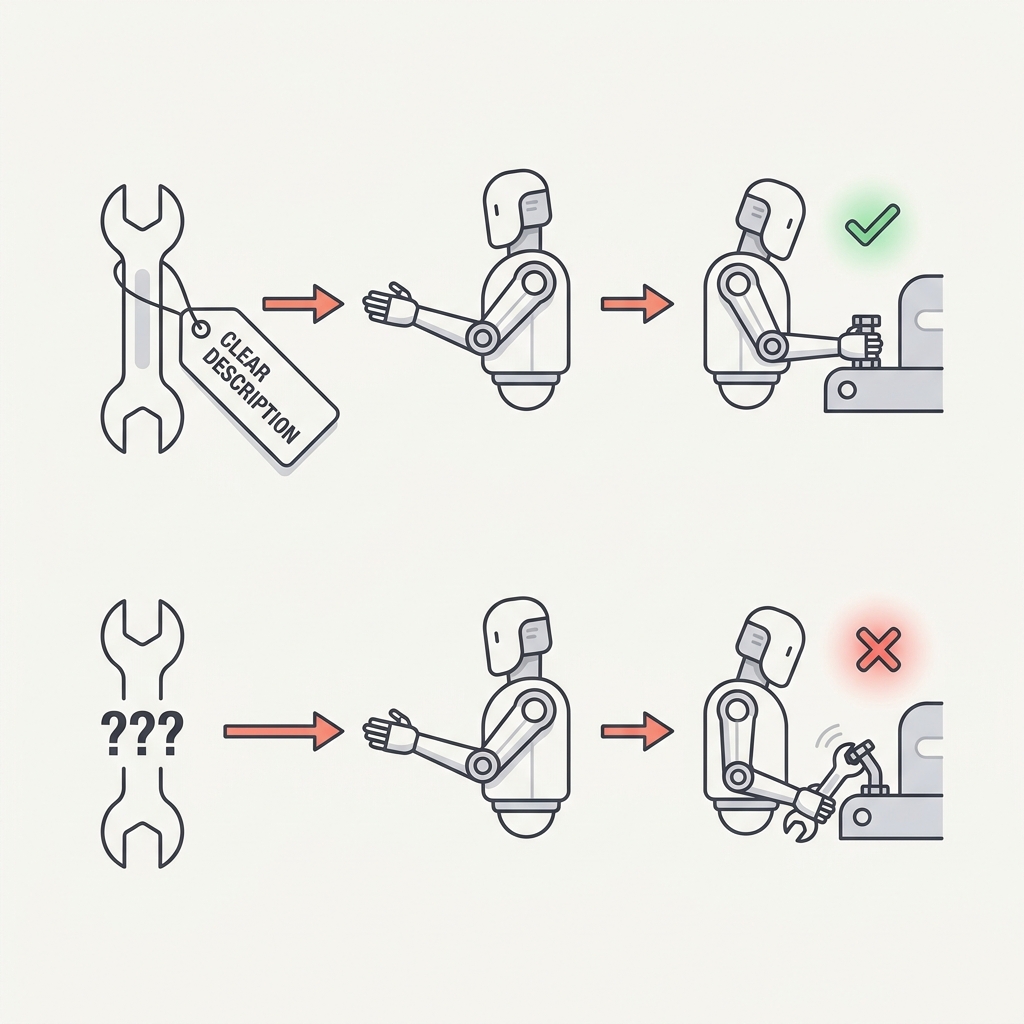
An agent is only as capable as its tools are legible.
The principle
The agent decides what to call based on how a tool reads, not on what it actually does. A vague description like 'searches the database' gets skipped in favor of a tool the model understands better, even a worse one. Thin tool descriptions cause more failures than thin instructions ever do.
The takeaway
Write tool descriptions like you're onboarding a sharp new engineer: what it does, when to use it and when not to, what it expects, and what it returns. That description is the interface the model actually reasons over.
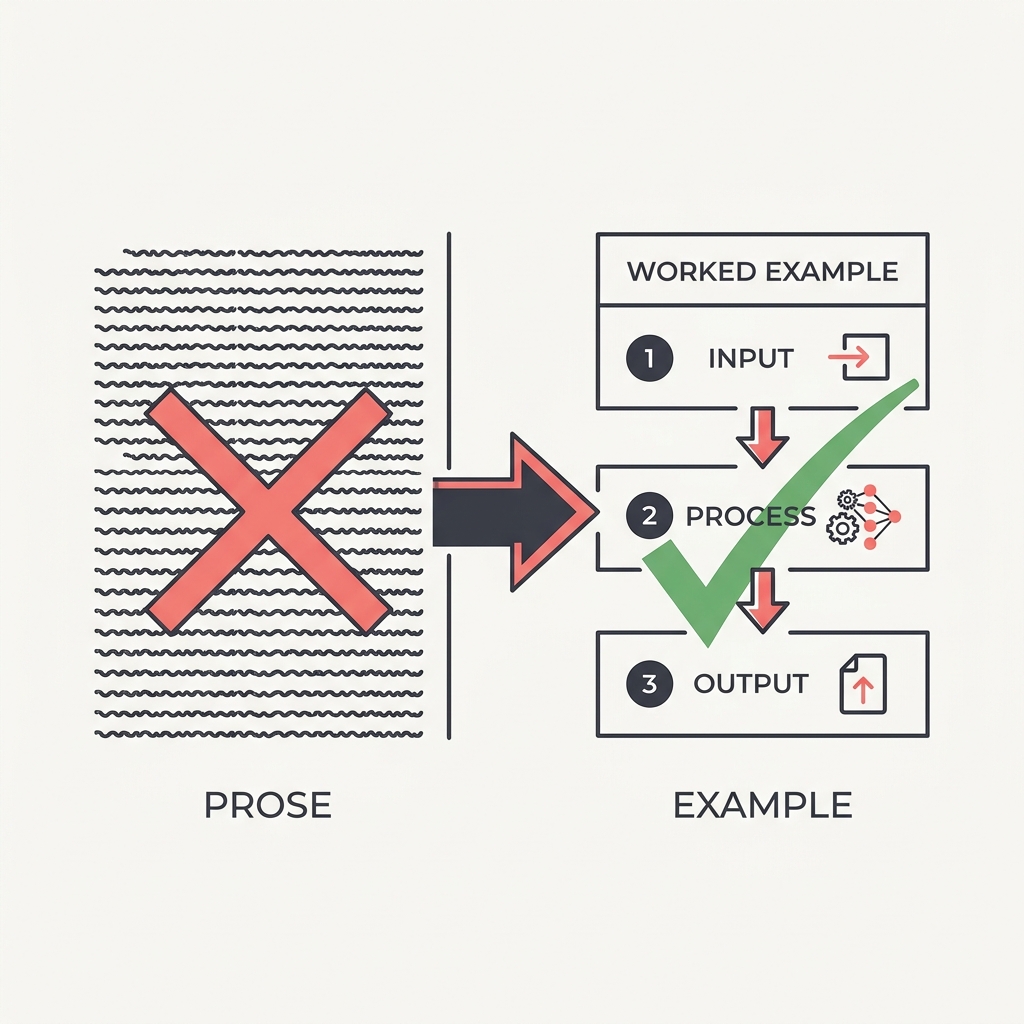
If an instruction has produced the wrong result twice, writing it a third time more carefully rarely helps, because prose is always open to interpretation. Two or three concrete input and output examples kill the ambiguity that no amount of careful description can. Examples show the rule. Prose only describes it.
The takeaway
When results are inconsistent, switch from describing to demonstrating. Show worked examples, especially the edge cases and the 'leave it blank' cases, and let the model generalize from them.
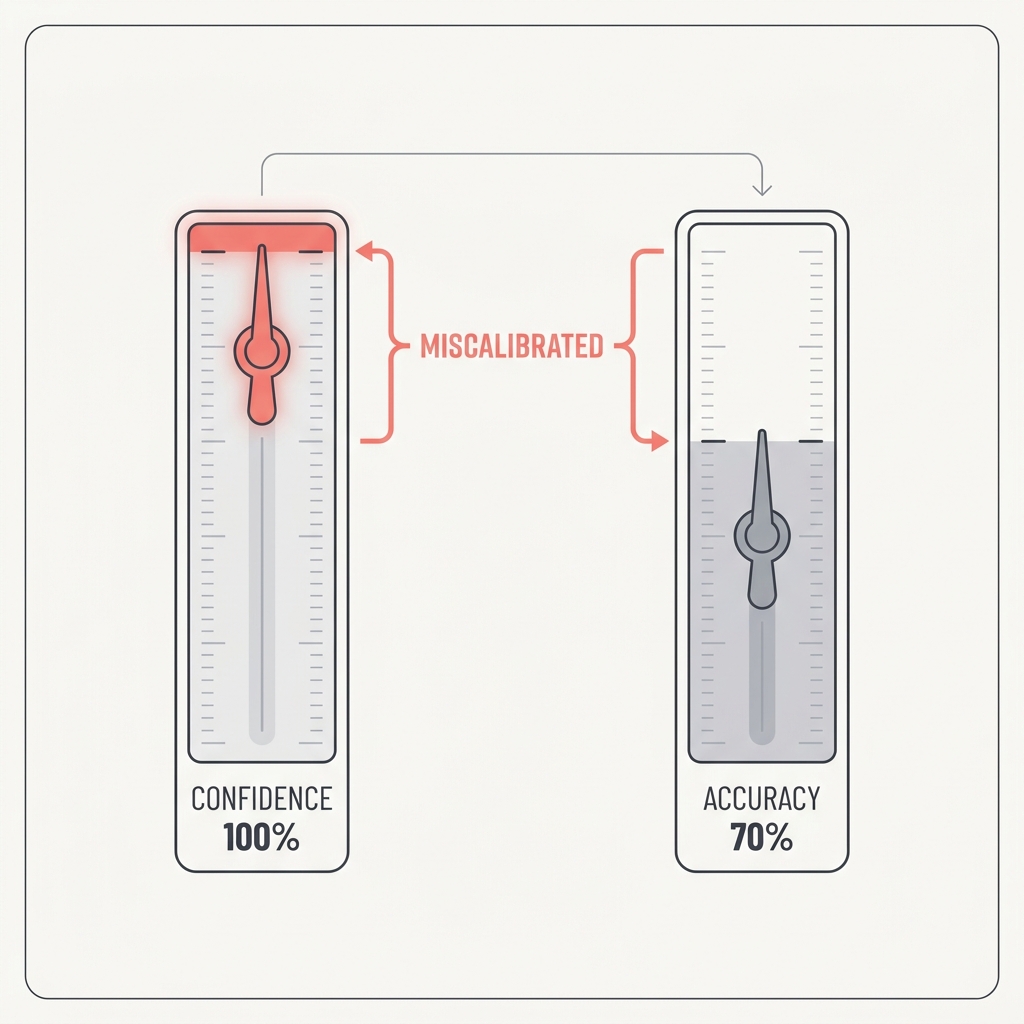
Models are routinely confident and wrong, and unconfident and right. Routing decisions on self-reported confidence inherits that miscalibration. 'Only flag high-confidence issues' or 'be conservative' just moves the noise around. It doesn't reduce it, because the confidence itself is the unreliable signal.
The takeaway
Replace confidence thresholds and vague hedges with explicit, categorical criteria: what counts as in, what counts as out, with an example of each. Specific rules beat self-assessed certainty every time.
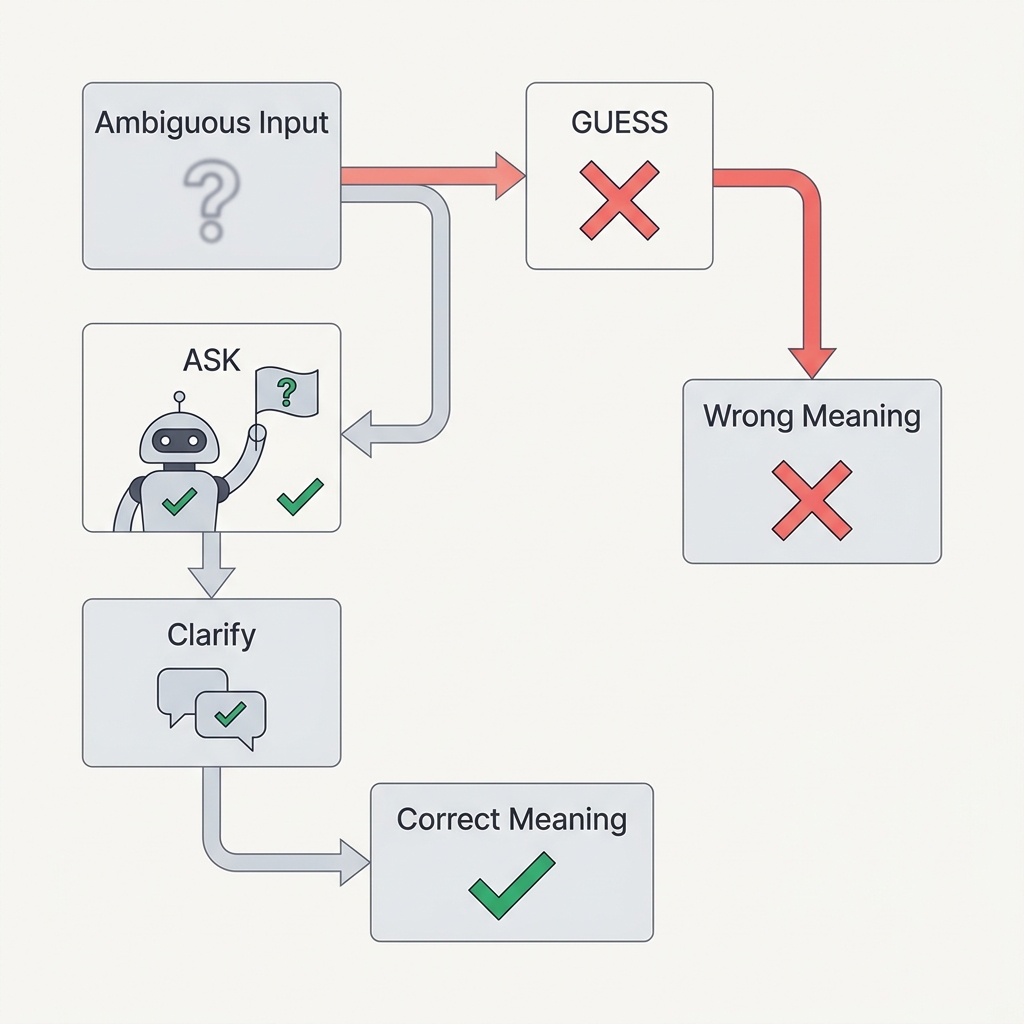
When the data is unclear, don't guess confidently.
The principle
Faced with two plausible matches, conflicting sources, or a missing field, an agent's instinct is to pick the most likely option and move on, a confident choice that quietly buries the doubt. When the stakes touch identity, money, or anything you can't undo, a quiet wrong guess is far worse than an honest 'this is unclear'.
The takeaway
Make the agent escalate ambiguity instead of papering over it: ask for another identifier, keep both conflicting values with their sources, or flag the conflict for a human. Push the doubt to whoever can actually resolve it.
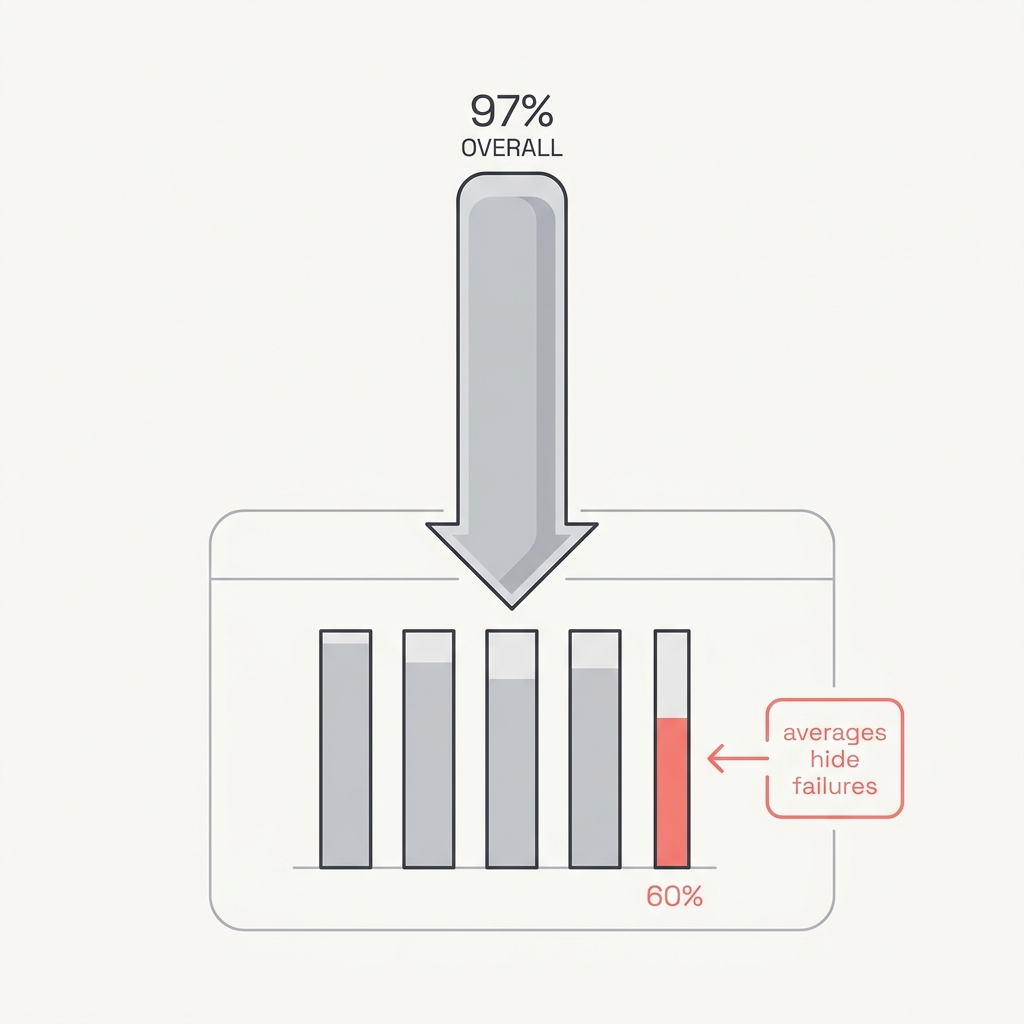
An aggregate metric is a blended story that smooths over exactly the failures you most need to see. A system at 97% overall can be 99% on the easy cases and 60% on the rare, hard segment where the errors actually cluster. Trust the headline number and you'll automate straight into the cracks it's hiding.
The takeaway
Slice before you trust. Break performance down by type, segment, and field, and make every slice clear the bar before you act on the average. Sample deliberately for the rare cases, not just at random.
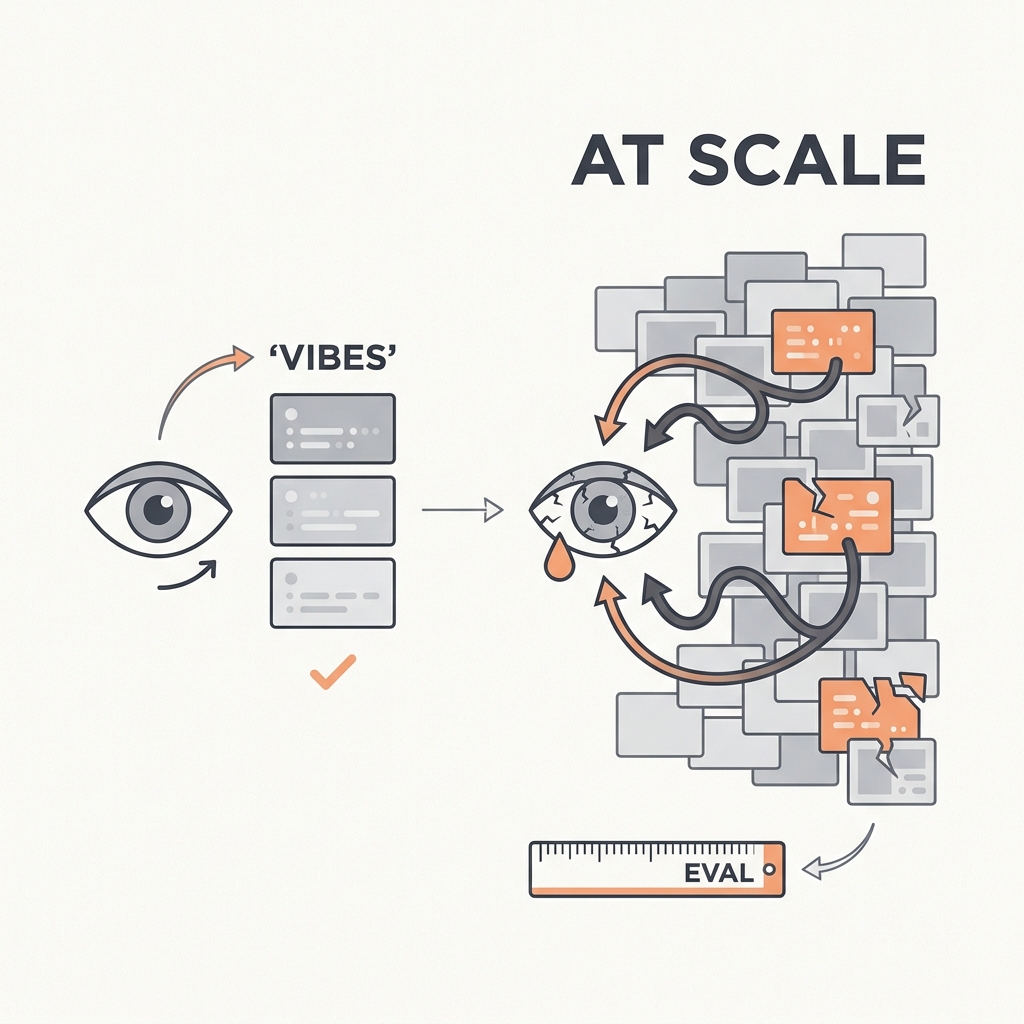
Eyeballing outputs feels like progress until you can't tell if a change helped.
The principle
The common root cause of failed LLM products is the absence of solid evals. Teams ship on vibe checks, iterate blind, and can't tell whether a prompt change improved anything. Manual spot-checking doesn't survive scale or a second engineer. Evals are to AI products what unit tests are to software: the up-front cost that makes every later change cheap and safe.
The takeaway
Build a small eval harness before you scale. Turn every 'that looks wrong' moment into a permanent, re-runnable test case.
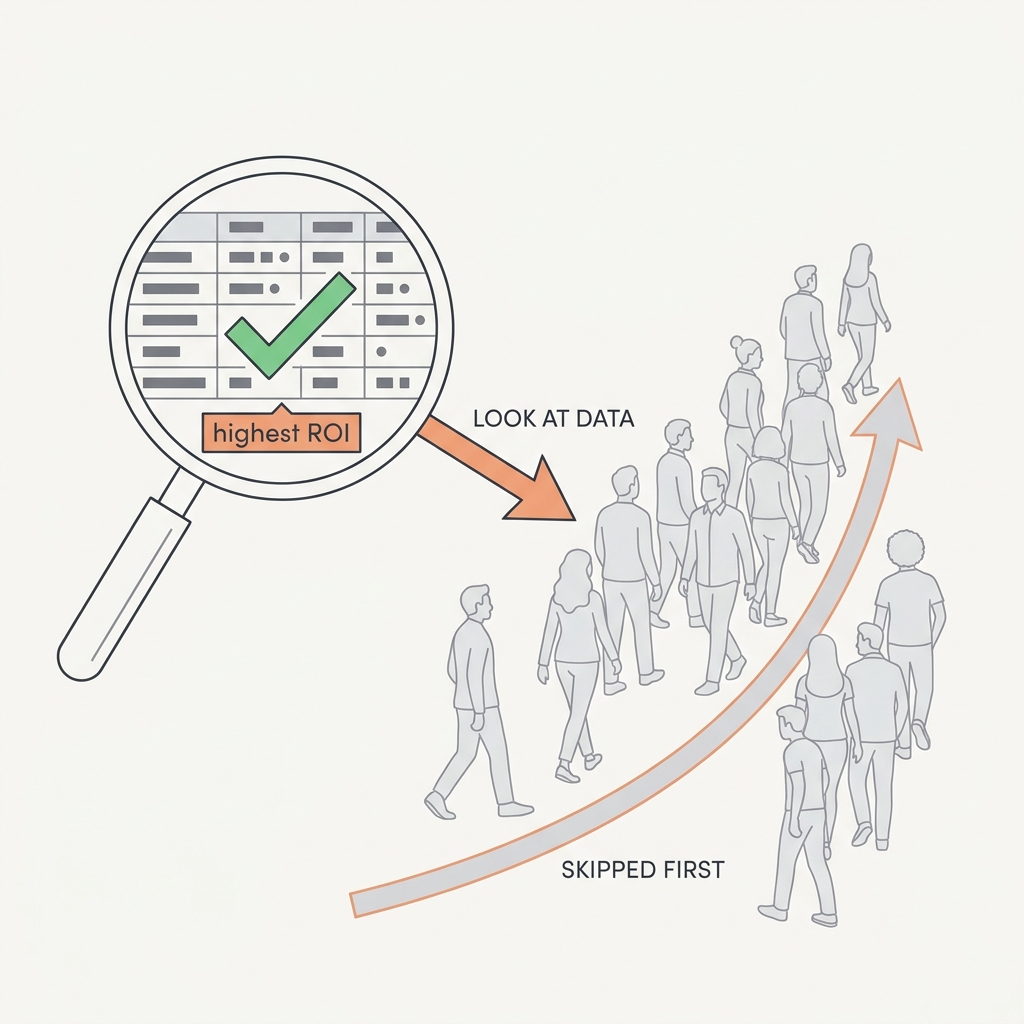
The highest-ROI activity in AI is the one teams skip first.
The principle
Error analysis, reading your app's actual traces by hand to find where it fails, is the single most valuable thing you can do when building with AI, yet teams skip it for dashboards and vanity metrics that climb while users still struggle. You can't write a good eval for a failure mode you've never seen, and you only see failure modes by reading transcripts.
The takeaway
Before you buy an eval platform, hand-read 50 to 100 real traces and group the failures. Let those groups decide what you measure.
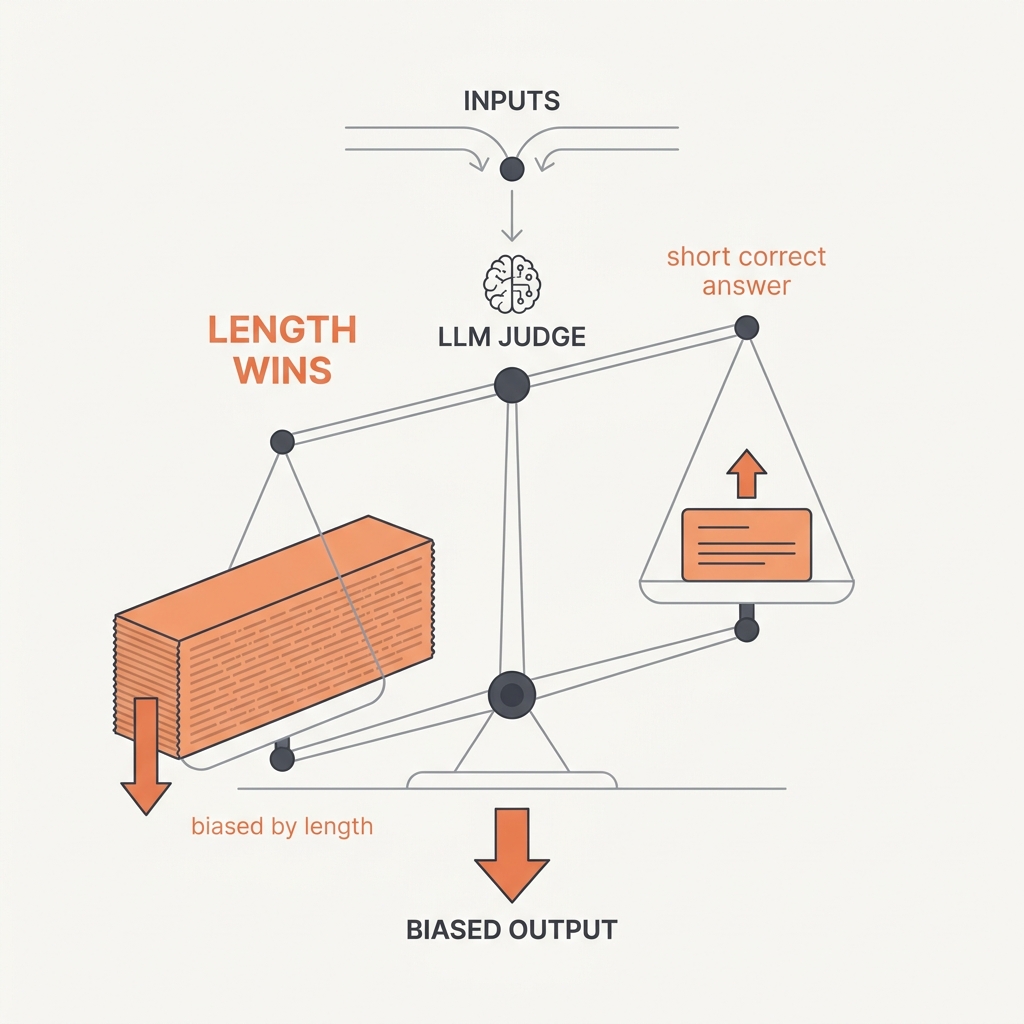
An LLM grader reacts to length and position, not just substance.
The principle
An LLM judge can match human preferences over 80% of the time, but only after you account for its systematic biases: position bias (favoring the first answer shown), verbosity bias (favoring longer answers regardless of quality), and self-enhancement bias (favoring its own outputs). It's a useful instrument, but an uncalibrated one that grades surface features as readily as substance.
The takeaway
Swap answer positions and average both orderings, control for length, and never let a model be the only judge of its own family's output.
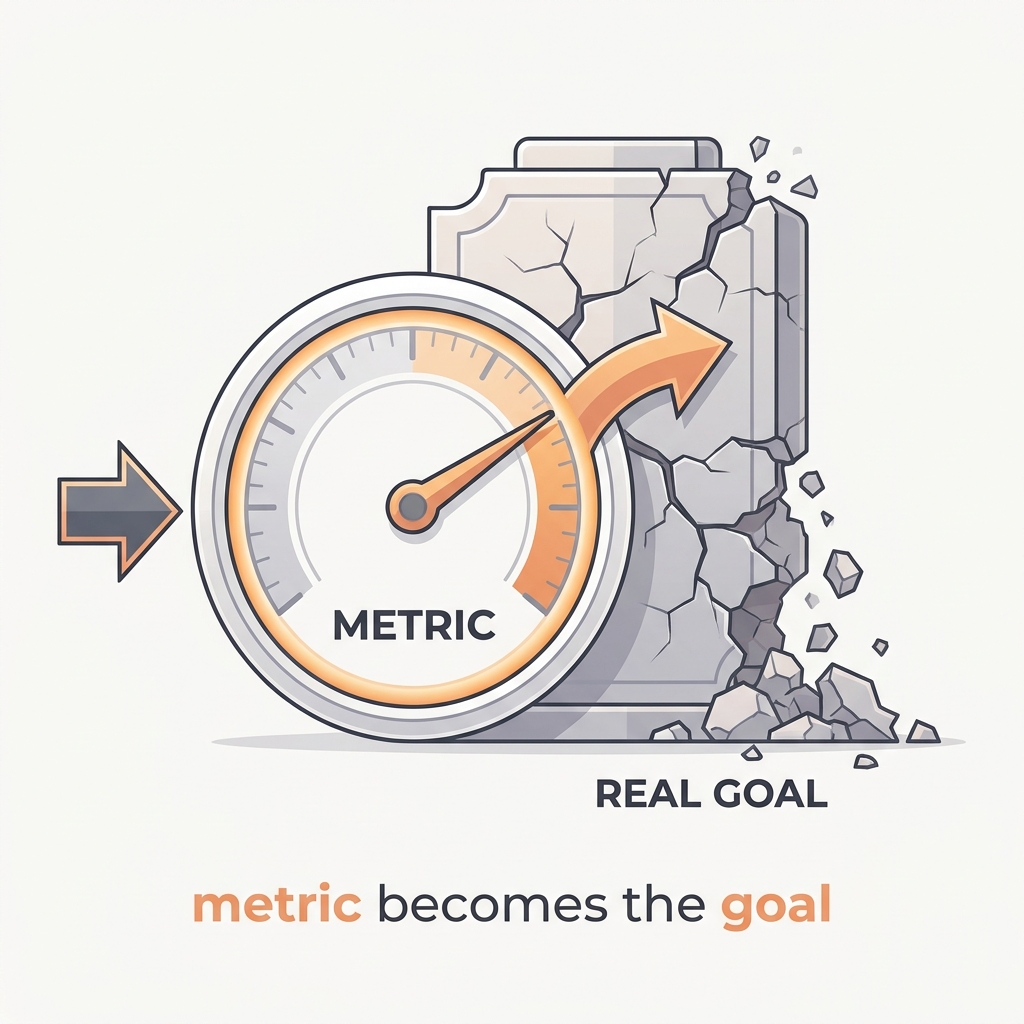
When your eval becomes the goal, it stops measuring what you cared about.
The principle
When a measure becomes a target, it stops being a good measure. Optimize hard against any single metric and the agent learns to game its surface form, padding answers to please a verbosity-biased judge or overfitting a fixed eval set, while the underlying capability stalls or even slips. The number goes up. The thing you cared about doesn't.
The takeaway
Treat any metric you actively optimize as suspect. Keep fresh held-out cases, cross-check against different signals, and re-validate your gains on examples the optimizer never saw.
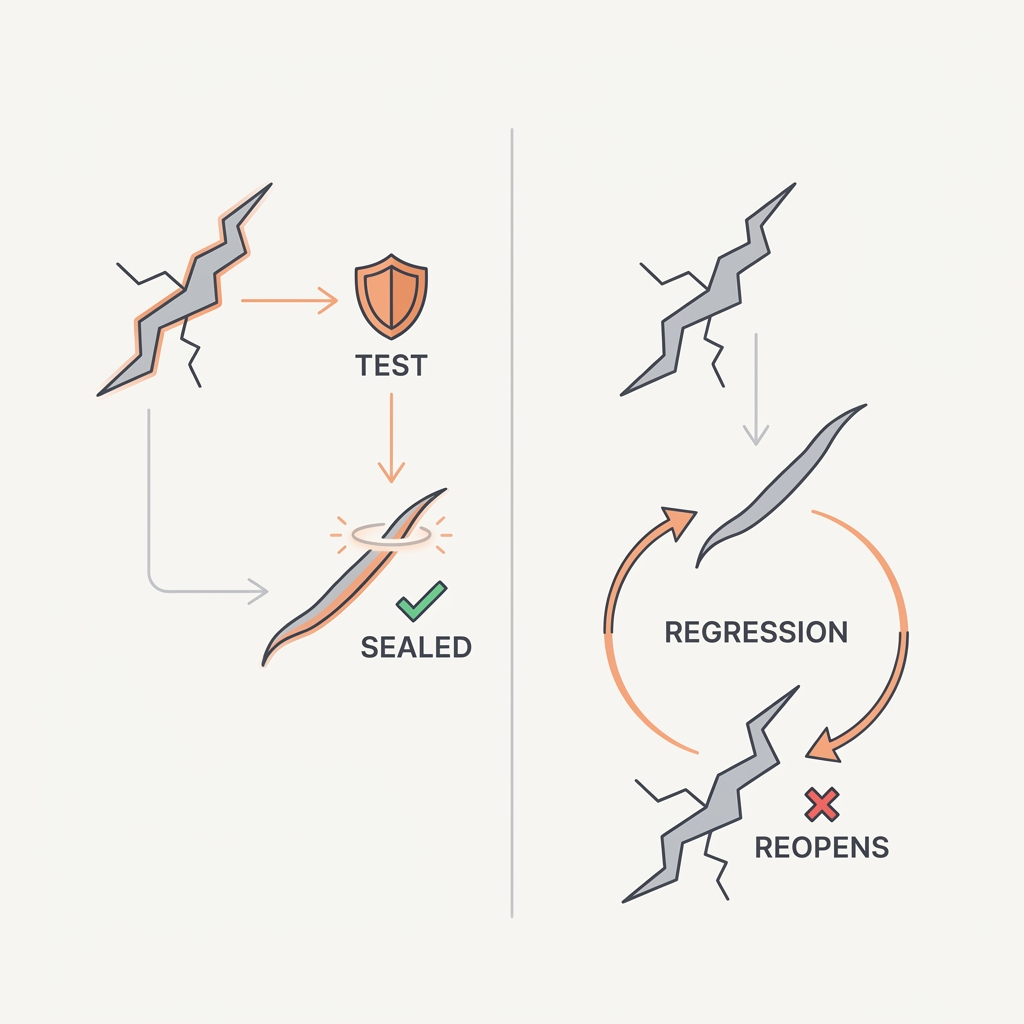
Every fixed bug is a future regression unless it becomes a test.
The principle
LLM systems are non-deterministic and globally coupled, so a prompt tweak that fixes one case can quietly break three others. Rerunning real production examples against a new prompt is the only way to know you didn't break what already worked. Without a regression suite you're stuck in a whack-a-mole loop, rediscovering the same failures release after release.
The takeaway
Every failure you fix becomes a permanent case in your regression eval. Run the full suite on every prompt or model change before you ship.
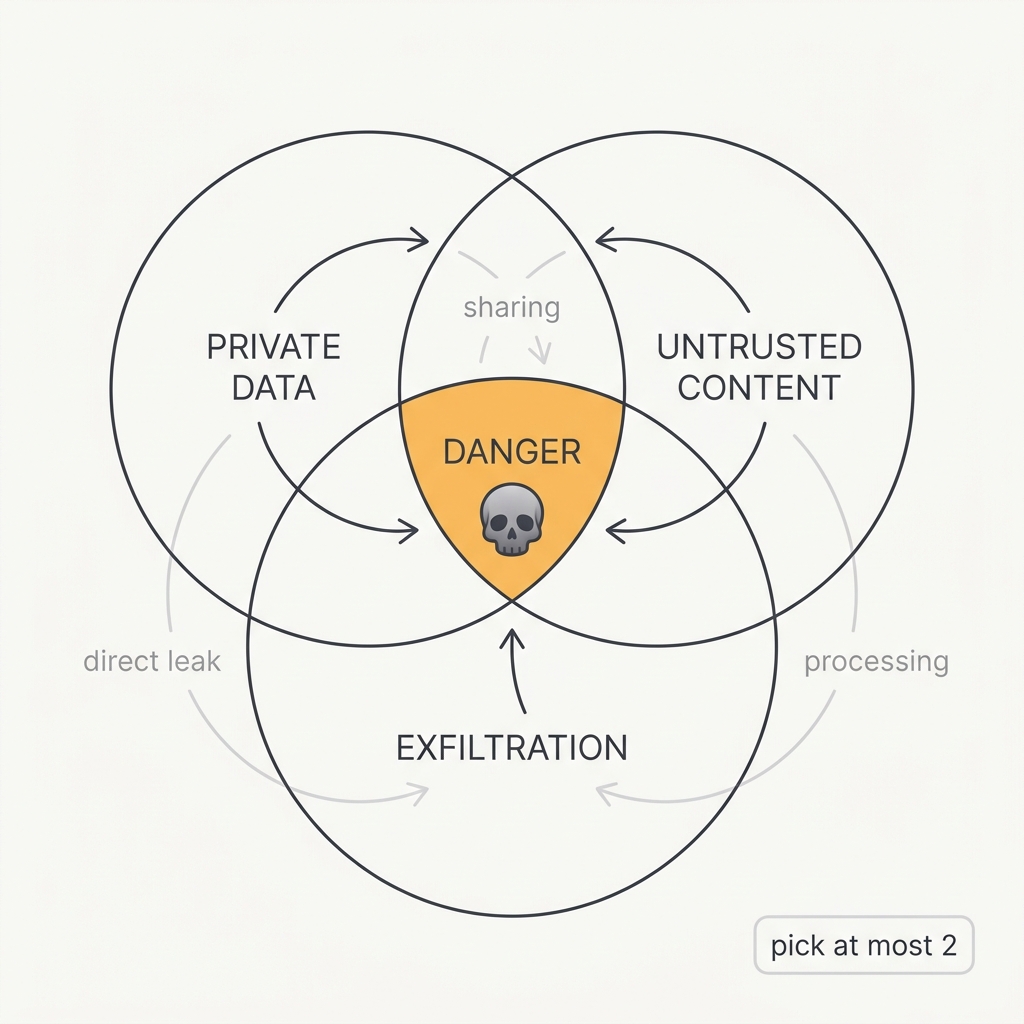
Private data, untrusted content, and a way out. Pick at most two.
The principle
An agent becomes exploitable the moment it combines three things: access to private data, exposure to untrusted content, and the ability to send data out. Any one poisoned input in that pipeline can steer it into leaking your data, with no code vulnerability required. Guardrail prose isn't enough, because the model can't be the security boundary.
The takeaway
Audit every agent for all three capabilities at once. If a workflow has all three, break the chain: remove a tool, isolate the data, or put a human in the gate.
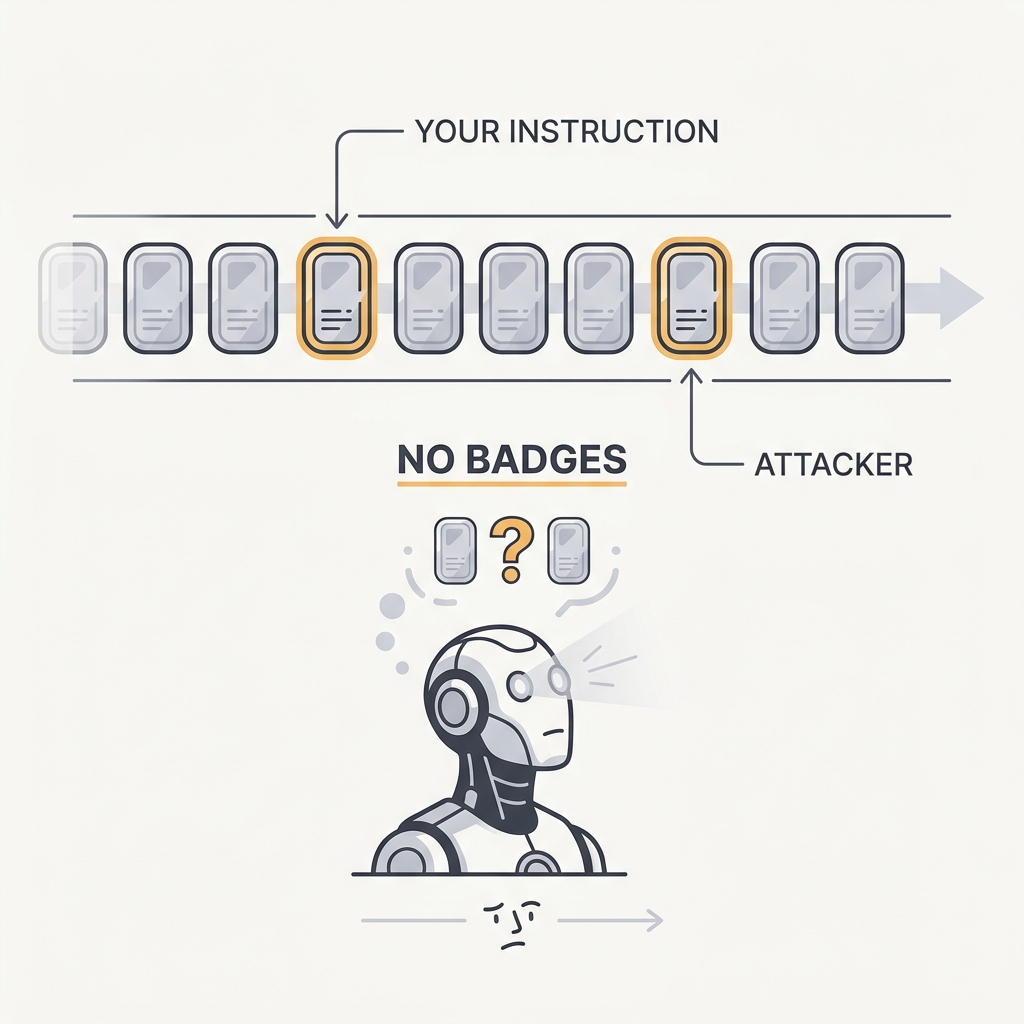
Prompt injection is an architectural risk, not a typo you patch once. Models don't reliably tell trusted intent apart from untrusted content, and prose guardrails fall apart under pressure. Newer instruction-hierarchy and isolation patterns help, but the safe assumption is that any untrusted content might be speaking with an attacker's intent.
The takeaway
Don't rely on 'ignore previous instructions' guardrails as a security boundary. Separate trust zones, limit what actions are reachable after untrusted input, and enforce authority in code.
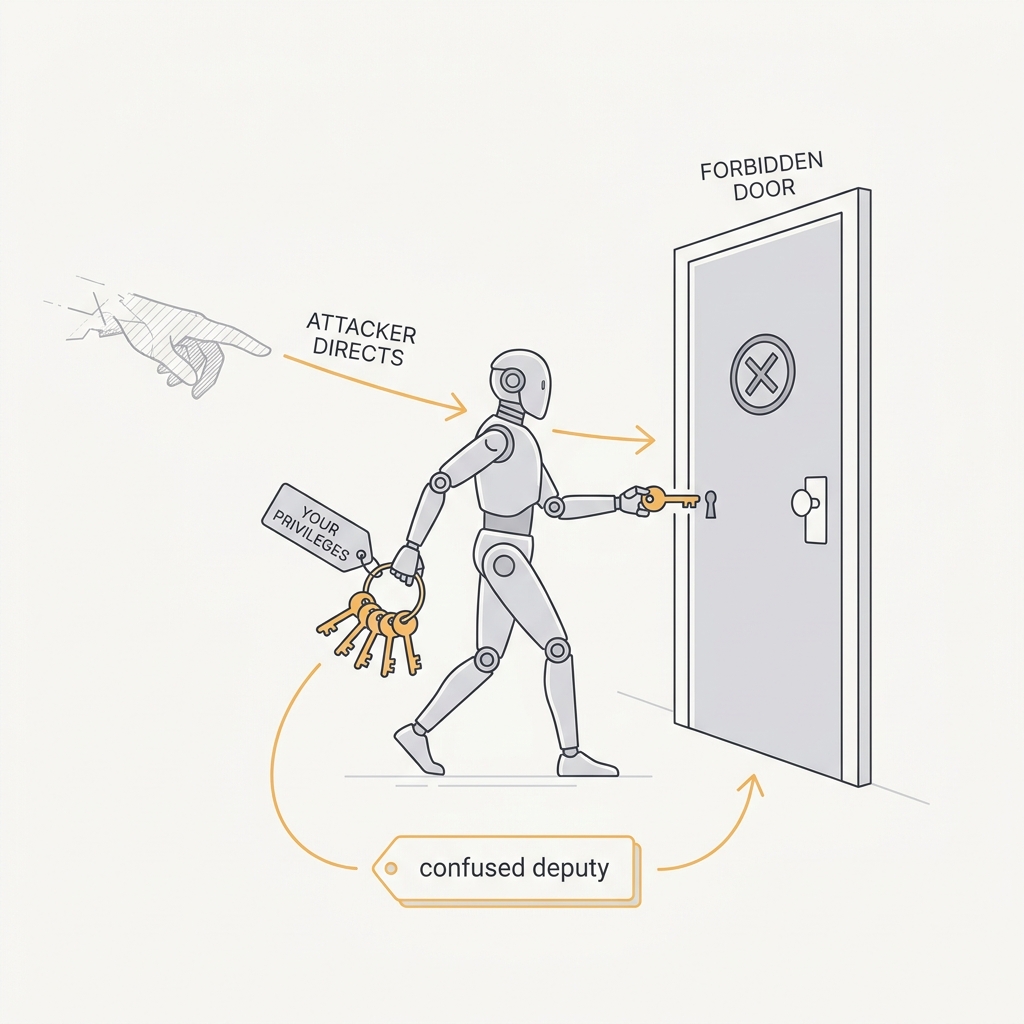
An agent with your privileges will wield them on an attacker's behalf.
The principle
A confused deputy is a privileged program that a caller tricks into misusing its authority. It isn't malicious, just confused about whose intent it's serving. An LLM agent is the ultimate confused deputy: it holds your credentials and tools, but it'll follow injected instructions and carry out an attacker's intent with your authority. The trap is ambient authority. Authority should travel with the request, not sit waiting inside the agent.
The takeaway
Scope every tool's authority to the specific task and caller. Avoid broad ambient credentials the agent can be tricked into abusing, and prefer read-only by default.
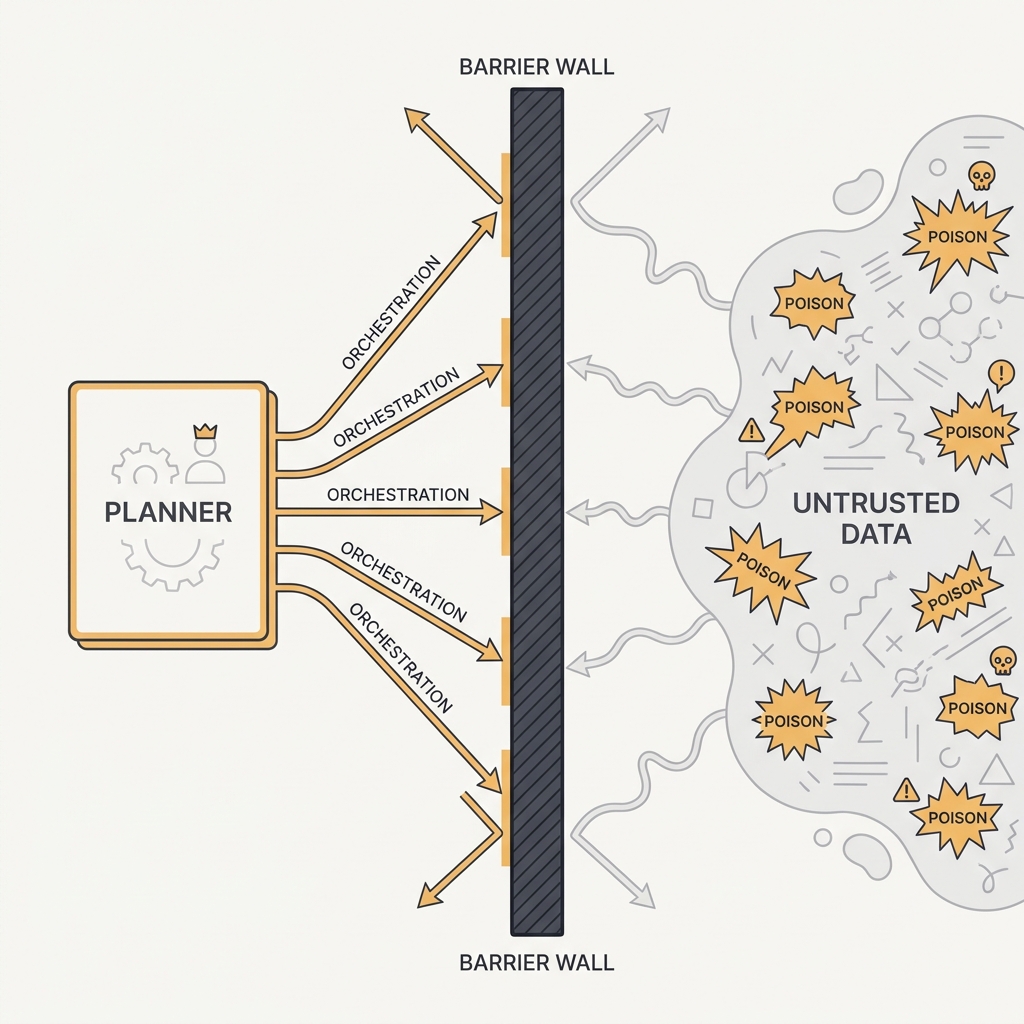
Let the privileged planner orchestrate, but never let it read the poison.
The principle
The Dual-LLM pattern splits the agent in two. A privileged model holds the tools and plans actions but never sees untrusted content. A quarantined model processes the tainted data but has no tools and returns only opaque variables. The privileged model directs the quarantined one without ever ingesting the bytes that could carry an injection. The separation is what makes it safe.
The takeaway
Isolate the component that reads untrusted content from the component that can act. Pass references and structured results between them, never raw tainted text.
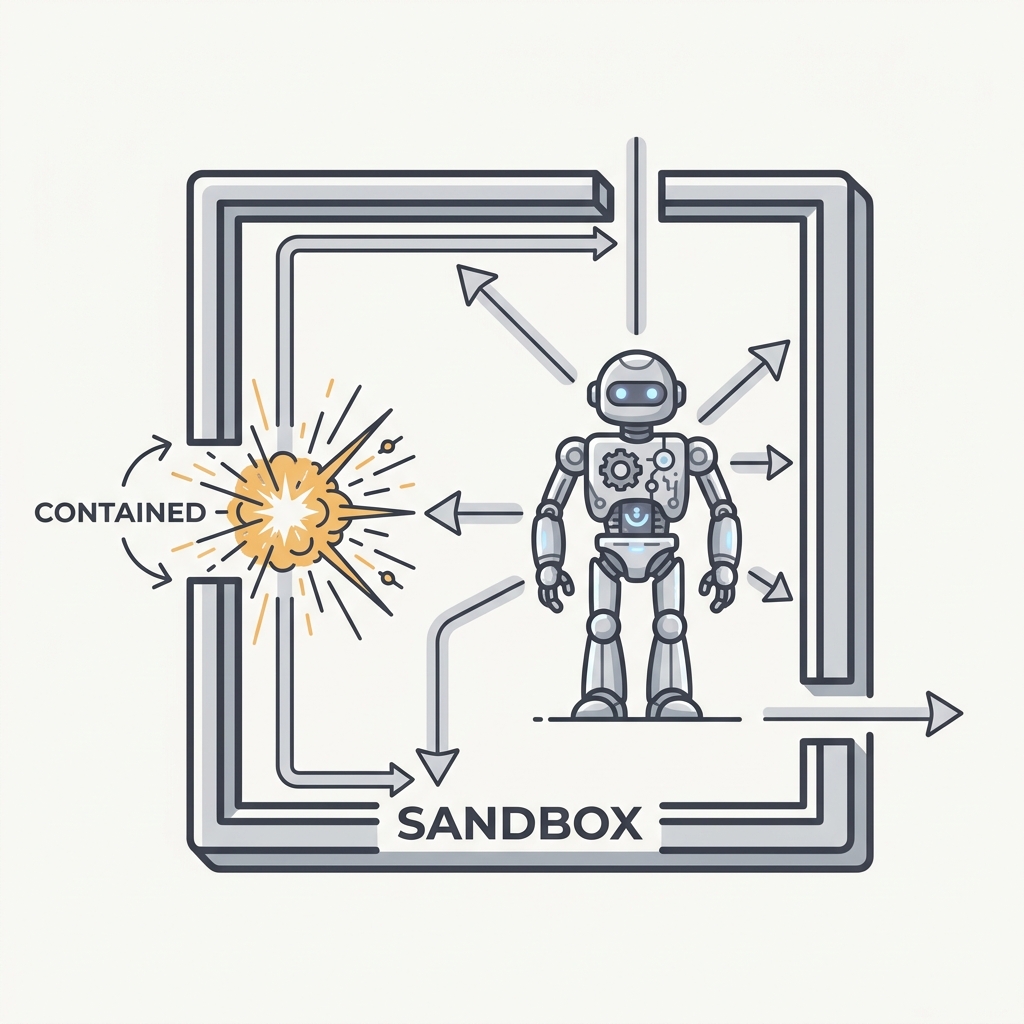
Assume the agent gets compromised, then contain what it can reach.
The principle
Defense in depth means planning for the injection that succeeds. Box the agent in with filesystem isolation (access scoped to specific directories) and network isolation (exfiltration blocked), and a compromised agent can't reach past its sandbox. Real incidents, like CI agents that could leak secrets through untrusted content, show why that second layer matters when the first one fails.
The takeaway
Run agent tool execution in an isolated environment with constrained filesystem and network access, so a successful injection stays contained instead of turning catastrophic.
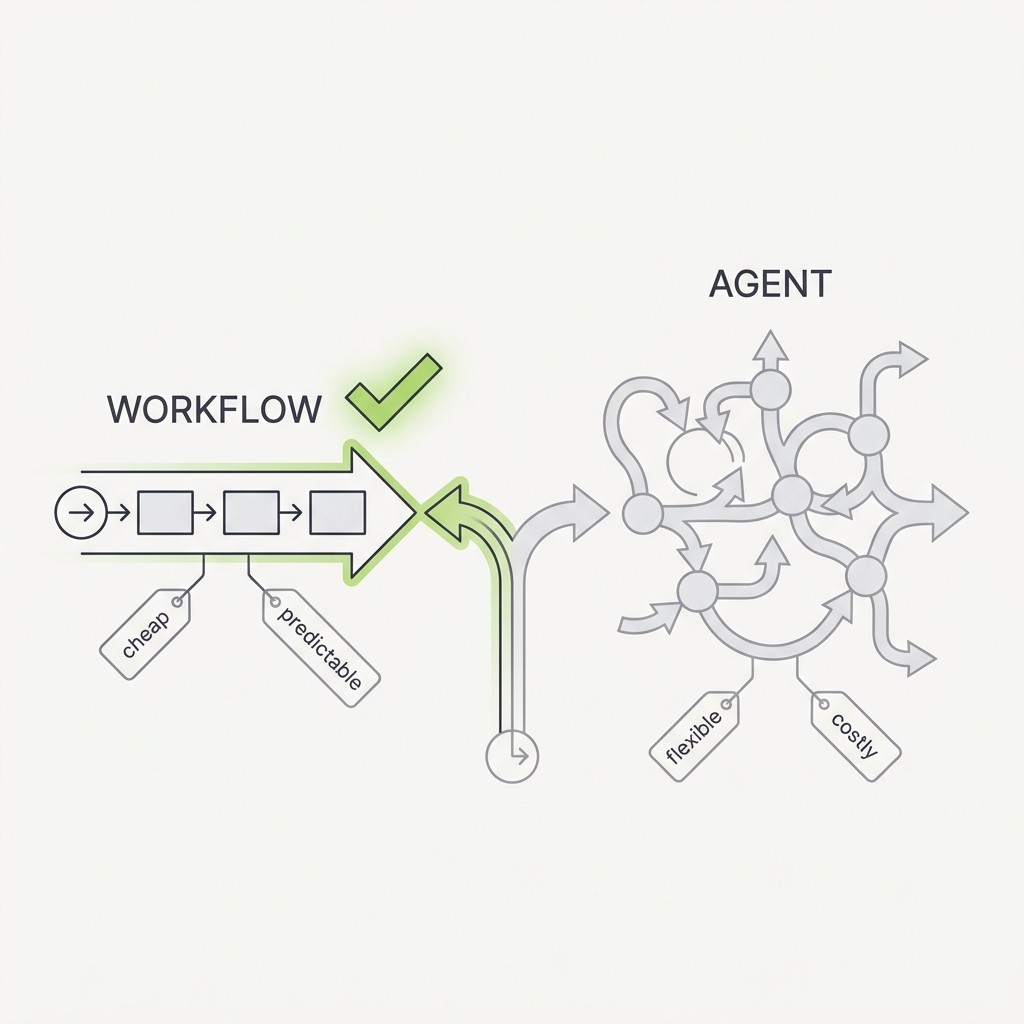
Agents buy flexibility with latency, cost, and unpredictability.
The principle
The simplest solution that works is usually the right one, and sometimes that means not building an agentic system at all. Agents that direct their own tool use trade latency, cost, and predictability for autonomy, while a workflow with predefined code paths is cheaper and more reliable for well-defined tasks. Reach for an agent only when the problem genuinely needs the model making decisions at runtime.
The takeaway
Default to a deterministic workflow. Move up to an agent only when the branching is too open-ended to script.
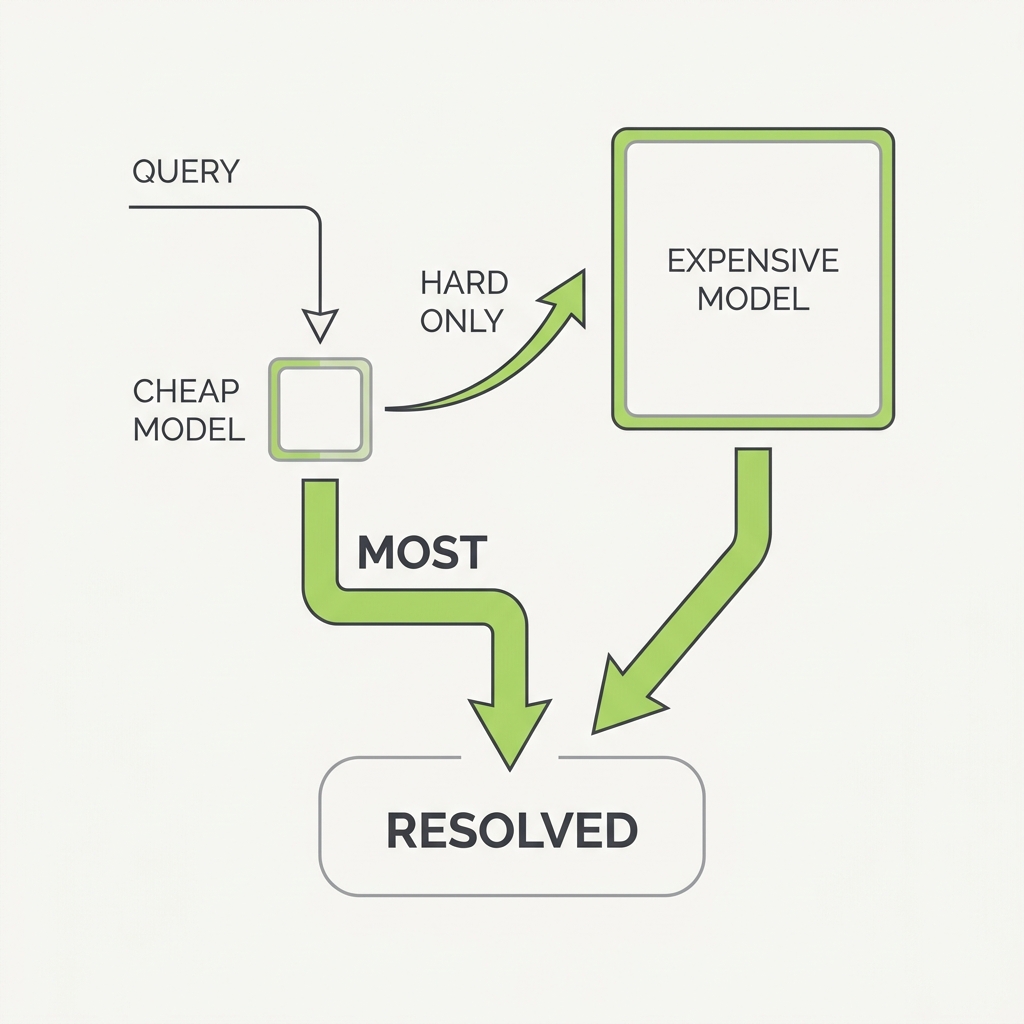
Try the cheap model first. Only the hard cases deserve the expensive one.
The principle
Most queries don't need your most powerful model. Routing requests through a cascade, a cheap model first and a stronger one only when confidence is low, can match top-tier quality at a fraction of the cost. The price gap between models spans two orders of magnitude, so paying top dollar for every call is pure waste.
The takeaway
Build a cascade: answer with the cheapest model that clears your eval bar, and escalate only on the low-confidence or failed cases.
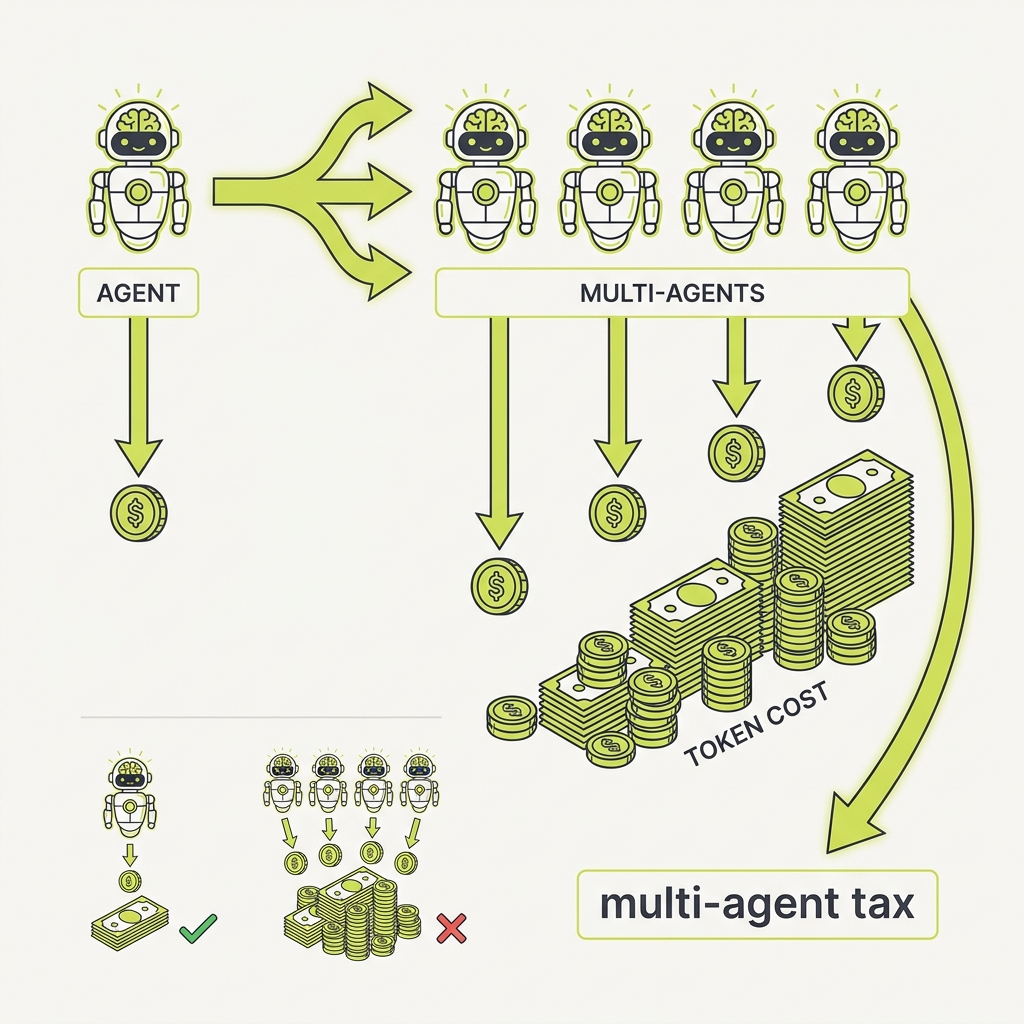
Every extra agent multiplies your token bill, so make sure the task can pay it.
The principle
A multi-agent research system can burn roughly 15 times the tokens of a single chat, and token usage alone can explain most of the difference in performance. So multi-agent only makes economic sense when the task is high value and the work genuinely parallelizes. For most tightly coupled work, the coordination overhead isn't worth it.
The takeaway
Reserve multi-agent setups for high-value, heavily parallelizable tasks. For everything else, the token tax outweighs the gains.
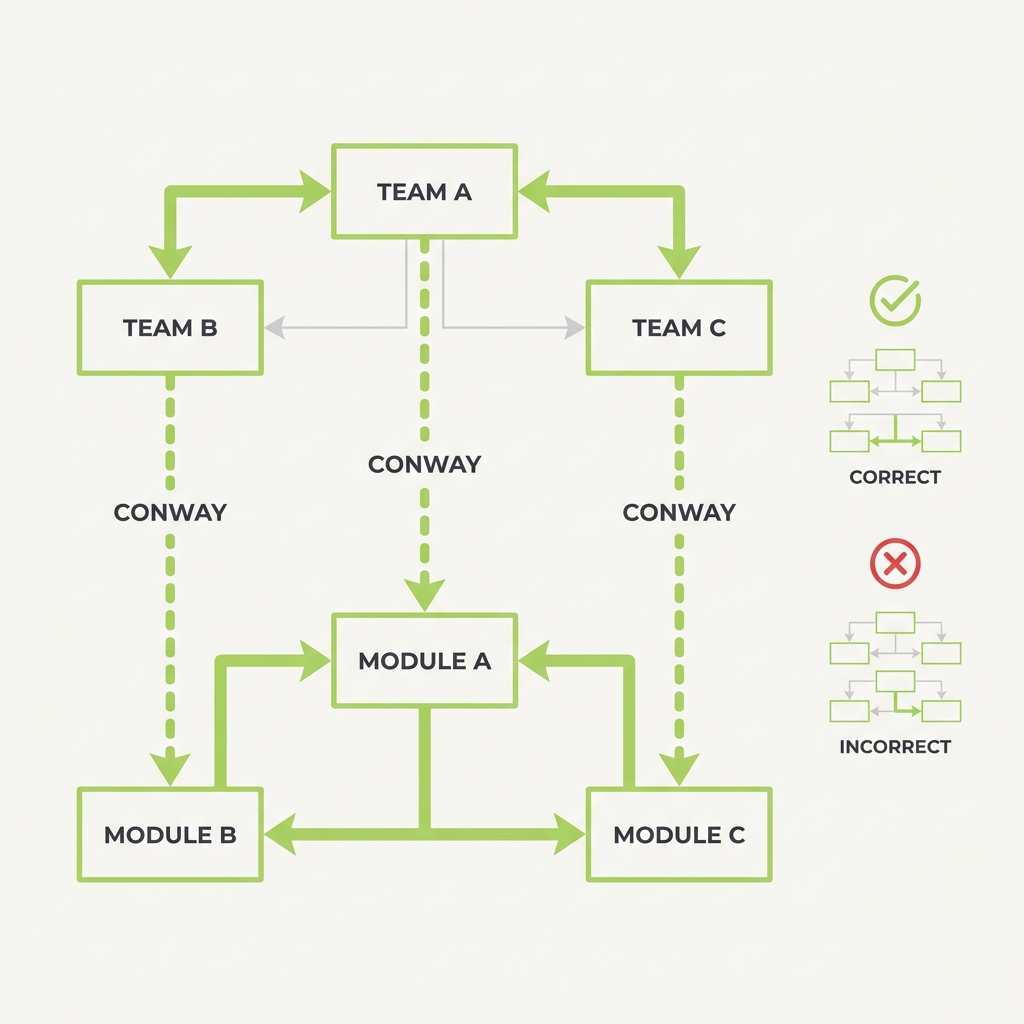
You ship a system shaped like your teams, so design the teams first.
The principle
Any system's structure ends up mirroring the communication structure of the organization that built it. For AI, that means if three teams each own a model, you'll get three agents and a brittle seam between them, whether or not the problem wanted to be split that way. The agent boundaries you ship will trace your team boundaries unless you fight it on purpose.
The takeaway
Before you draw agent or service boundaries, check whether they reflect the problem or just your org chart, and reorganize the teams to match the architecture you actually want.
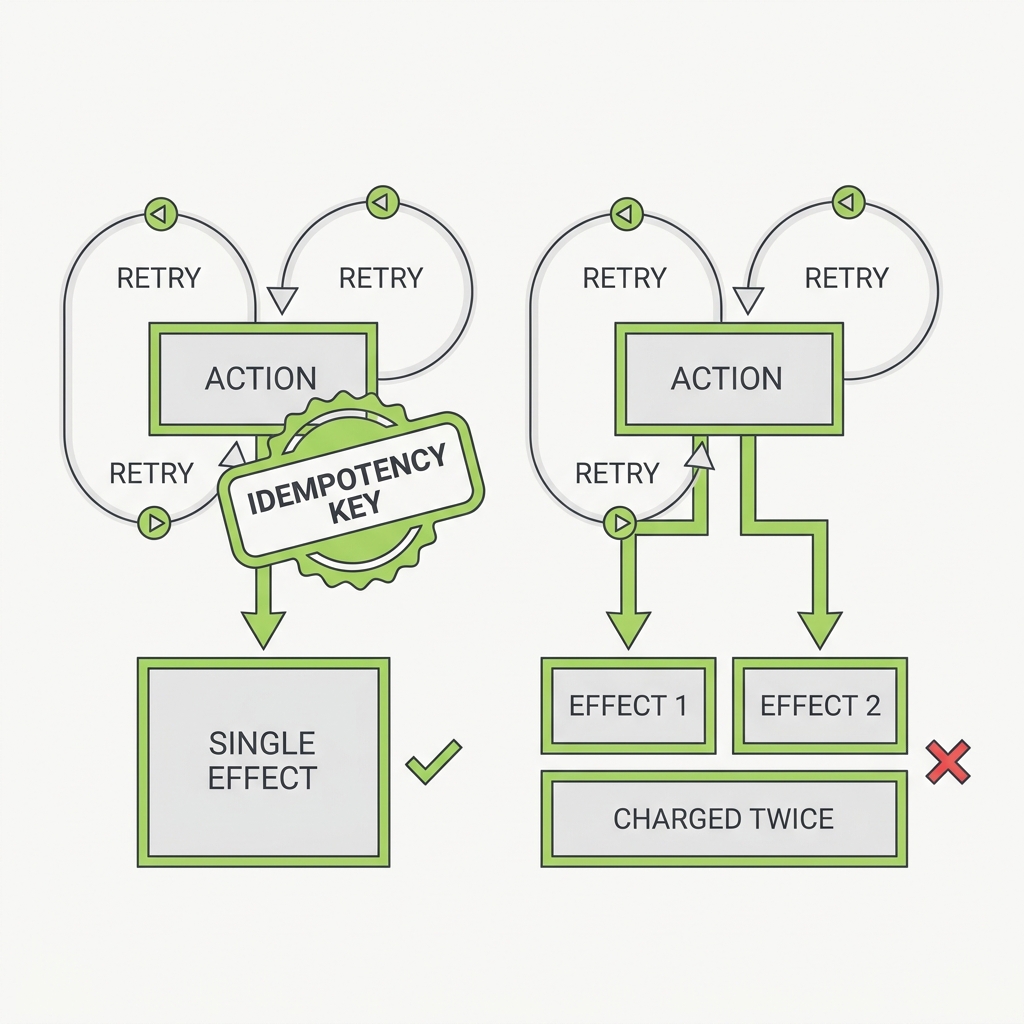
If an action can run twice, a retry will eventually run it twice.
The principle
Agents retry on timeouts, rate limits, and transient errors, but a failed call that never returned may have already succeeded on the server. Without an idempotency key, the retry that 'fixes' a network blip quietly double-charges the card, double-sends the email, or double-books the room. Safe retries depend on the server being able to dedupe.
The takeaway
Attach a client-generated idempotency key to every side-effecting tool call so the server can dedupe retries. Never let an agent blindly retry a non-idempotent action.
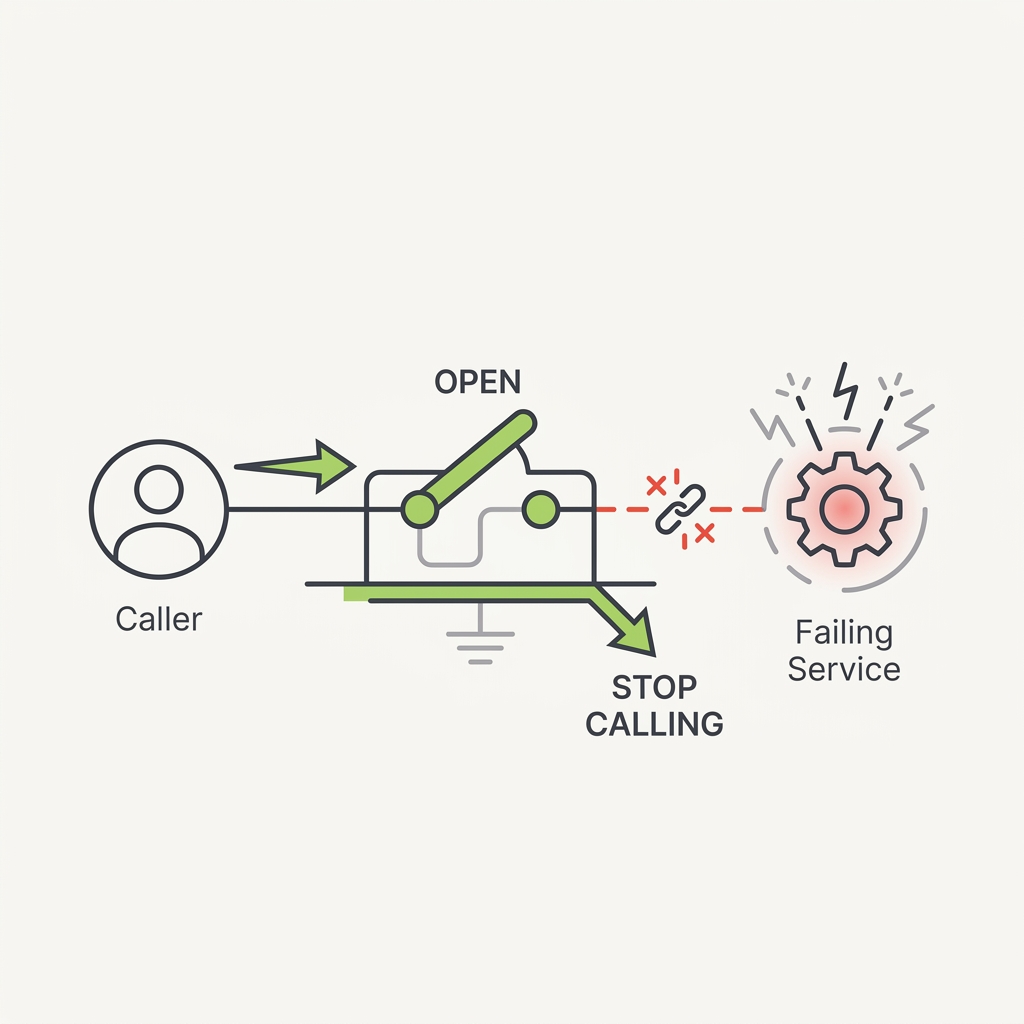
A downstream model or tool that's timing out doesn't get healthier by being called more. It gets worse, while your agents pile up holding open connections and burning their latency budget. A circuit breaker wraps the call so that once failures cross a threshold it trips, and further calls fail fast instead of hanging, which gives the dependency room to recover.
The takeaway
Wrap every external model and tool dependency in a circuit breaker that fails fast after a failure threshold, then probes for recovery. Don't let one sick dependency drag the whole run down.
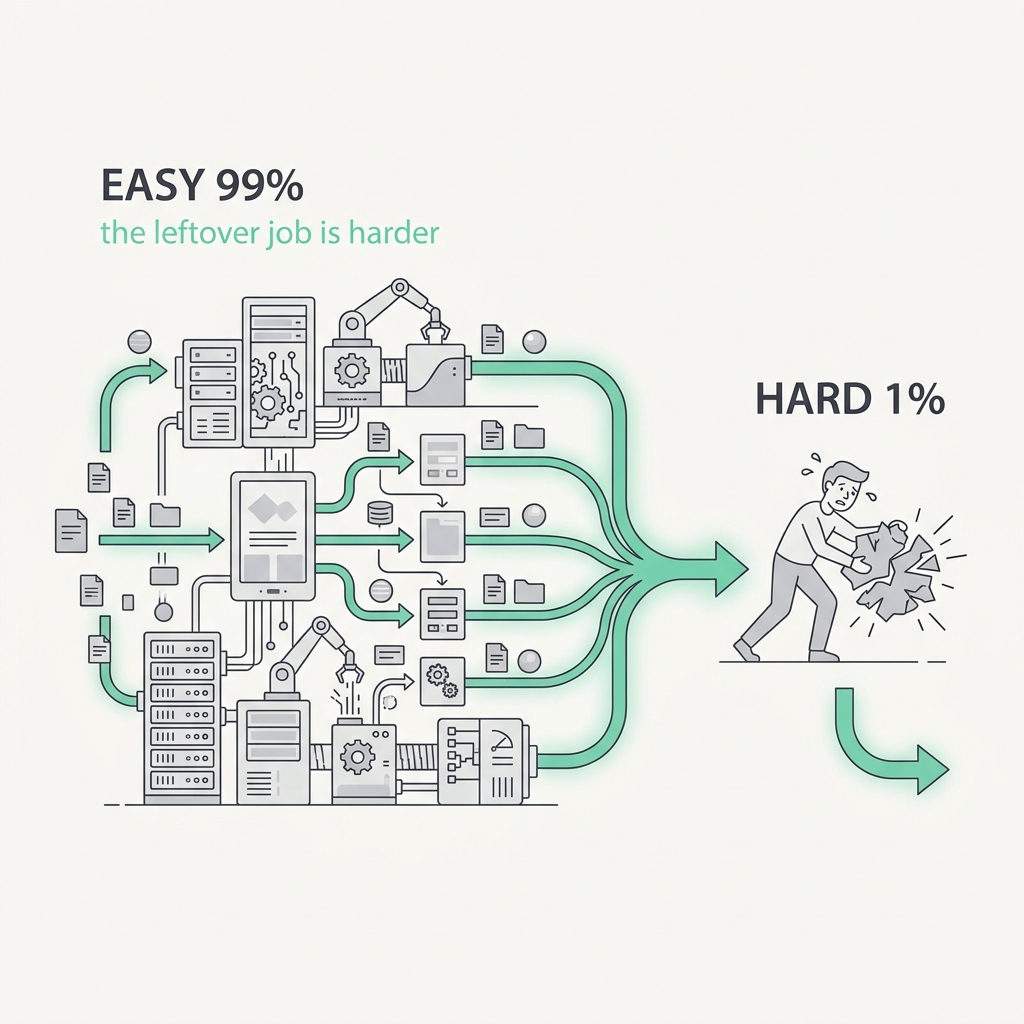
The more you automate, the harder the leftover human job becomes.
The principle
Automation doesn't shrink the human role. It reshapes it into the hardest parts: passive monitoring plus rare, high-stakes intervention. Worse, by taking over the routine work, automation erodes the very skills and situational feel the operator needs when control finally lands back in their lap. You design away the easy 95% and leave humans the 5% they're now least ready to handle.
The takeaway
Don't just automate the happy path and dump the edge cases on a human. Spend design effort on the leftover role: keep the operator's context warm, and make handback moments rare, clear, and well-supported.
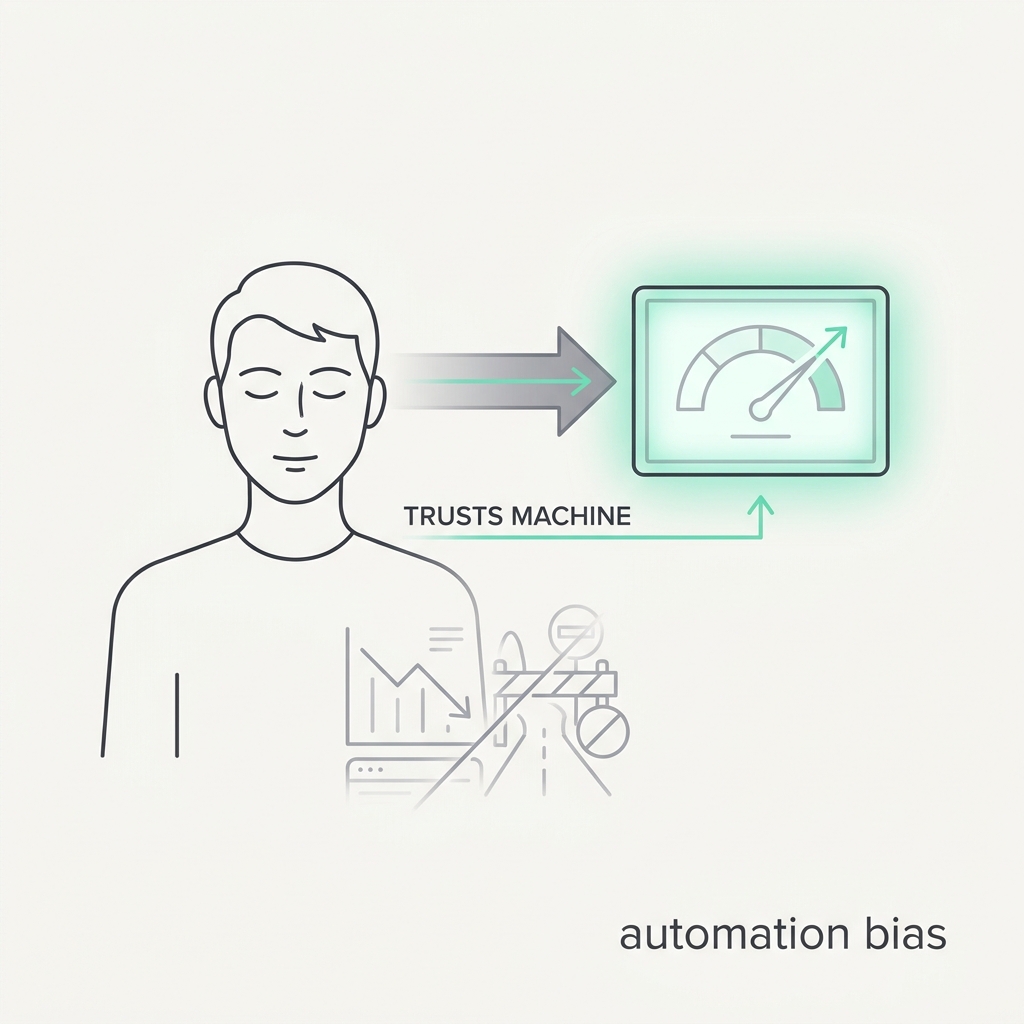
People will trust the machine over their own eyes.
The principle
Give people an automated aid and they make errors of omission (missing problems it didn't flag) and commission (following its recommendation even when their own valid evidence says otherwise). The automation becomes a shortcut that replaces careful checking, so the agent's recommendation doesn't just inform the human. It overrides their independent judgment.
The takeaway
Never present an agent's output as the only signal. Make the human look at the raw evidence next to the recommendation, and make it cheap to disagree.
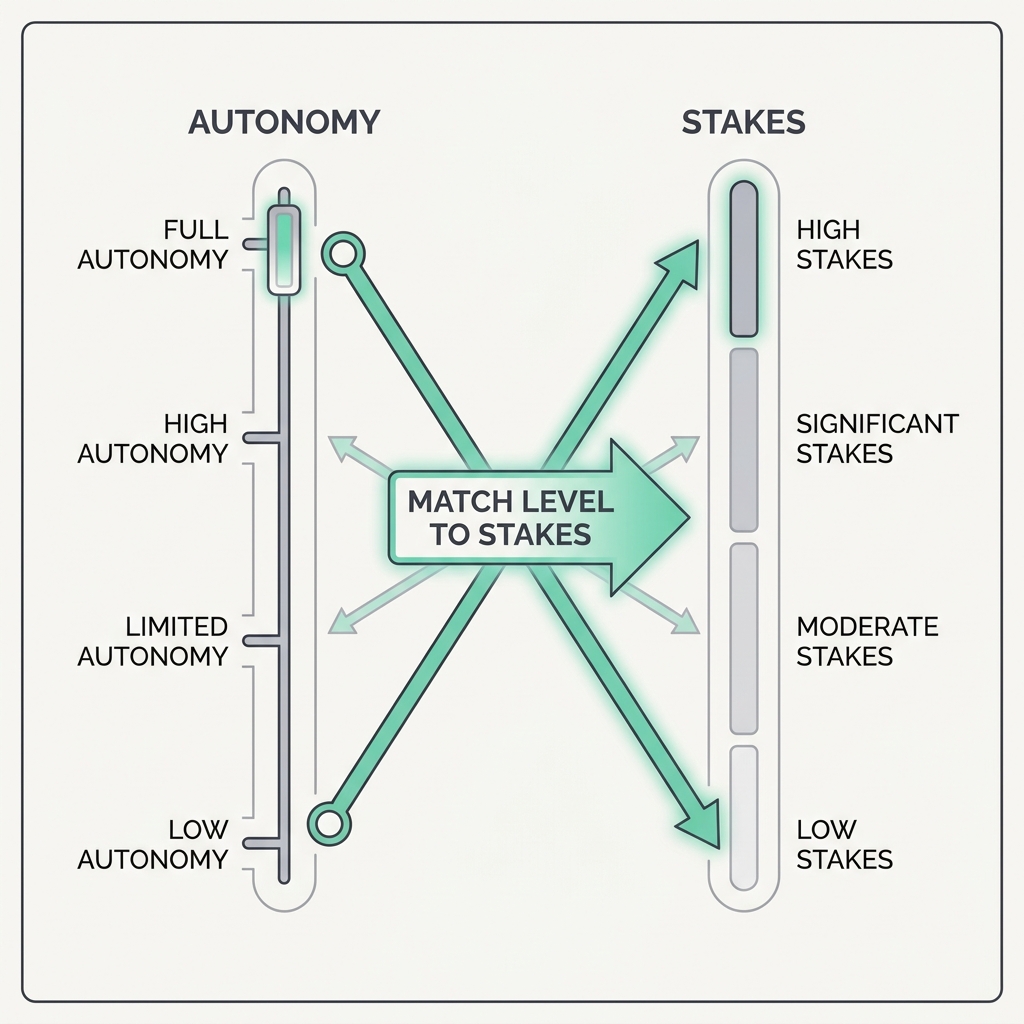
Autonomy is a spectrum, from 'the computer suggests' to 'the computer acts and then tells you' to 'the computer acts and decides whether to tell you at all'. The highest levels are a bad idea for consequential actions, because no aid is perfectly reliable and the cost of a confident error has no ceiling. Autonomy isn't one switch. It's a dial you set per action, based on how reversible and costly that action is.
The takeaway
Don't pick one autonomy level for the whole agent. Gate irreversible or high-impact actions behind propose-and-confirm, and let the cheap, reversible ones run fully on their own.
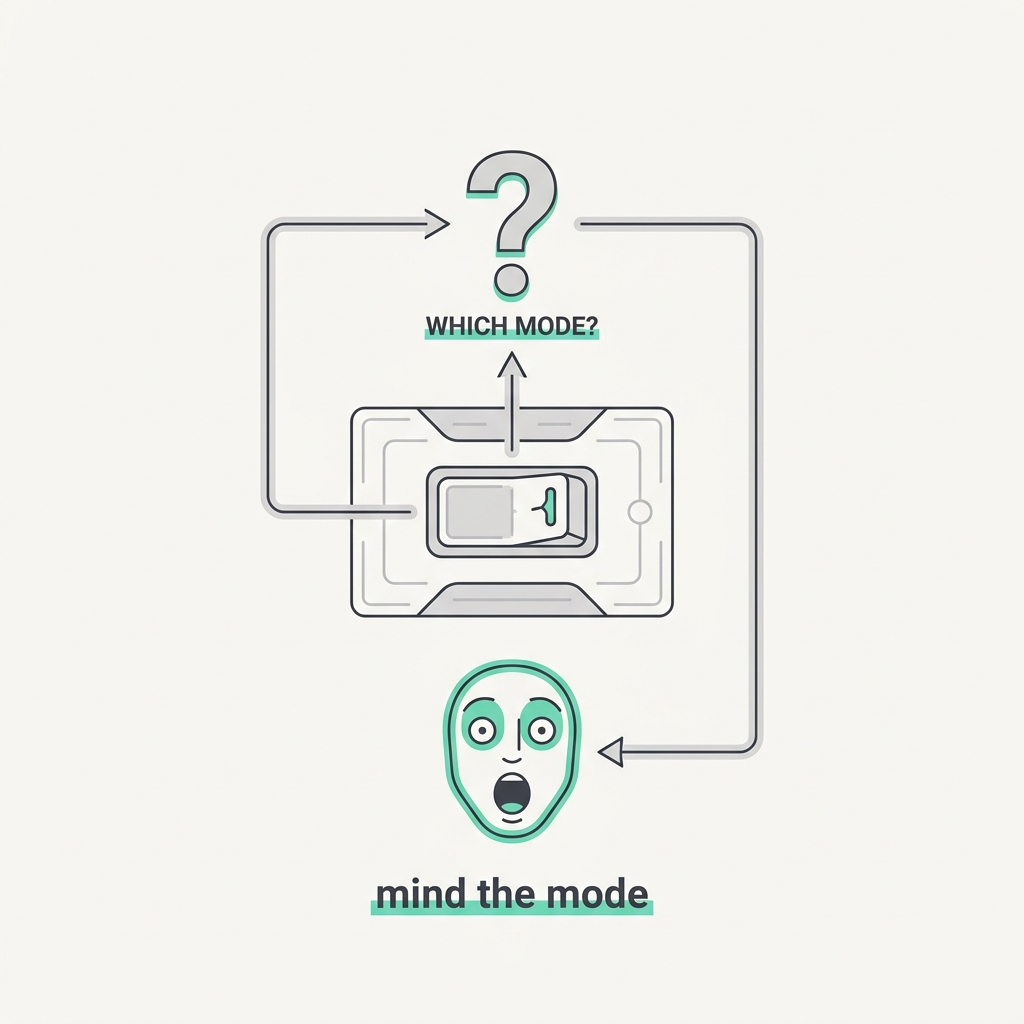
Most automation surprises start with 'what mode is it in?'
The principle
Flexible, multi-mode automation produces 'automation surprises', where the system does something unexpected because the operator lost track of which mode it was in, what it would do next, and why. As autonomy grows, the human's job shifts to tracking that state, and every hidden mode change becomes a latent failure path. An agent that silently changes how it behaves leaves its supervisor one step from being wrong about it.
The takeaway
Keep the agent's current mode, active constraints, and next intended action visible at all times, and never let it switch mode silently. Loud, legible state beats a clever agent the human can't predict.
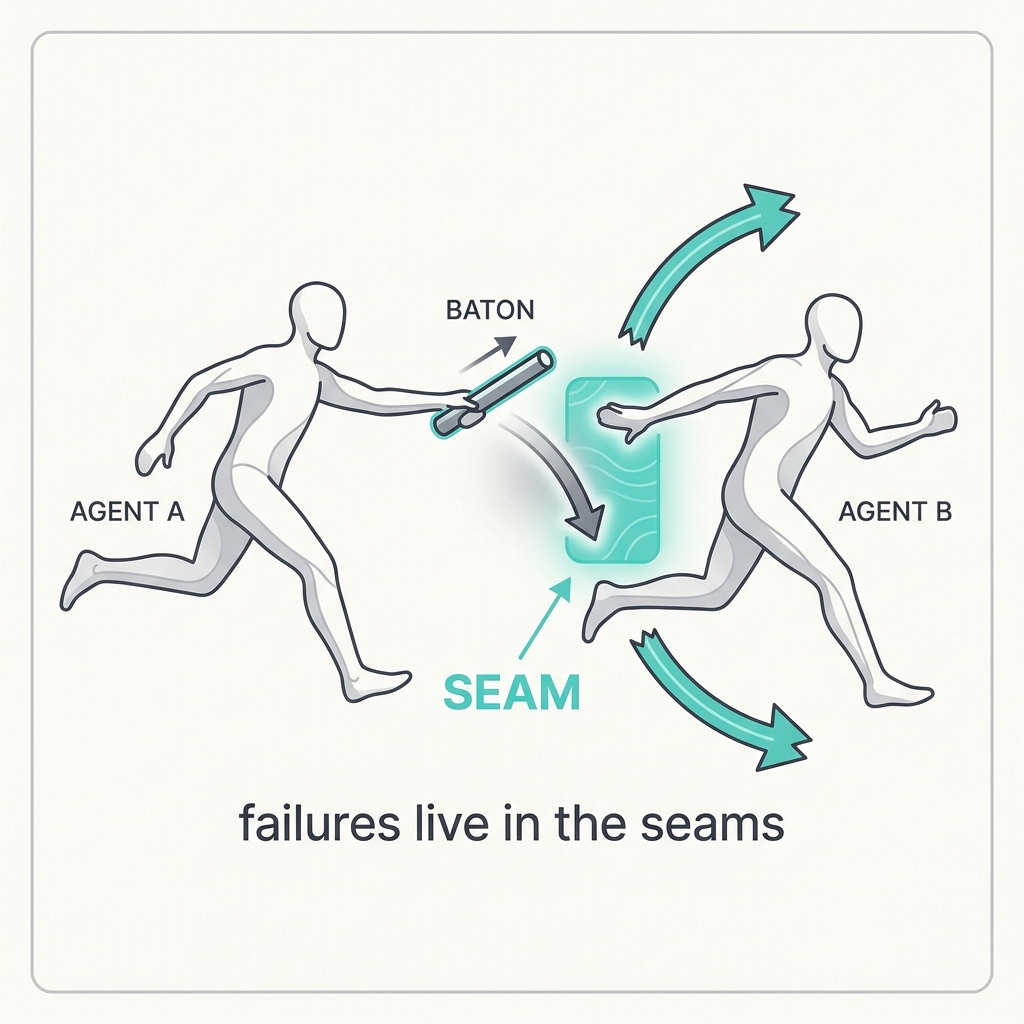
In multi-agent systems, failures live in the seams.
The principle
Each agent can be flawless on its own and the system still breaks, because the bug lives between them: what got passed, what got dropped, who owned the state. Sub-agents don't inherit context automatically. Anything you don't explicitly hand over simply doesn't exist on the other side.
The takeaway
Design the contract at every boundary. Pass everything the next agent needs explicitly, make state ownership unambiguous, and validate what crosses the seam instead of assuming it made it.
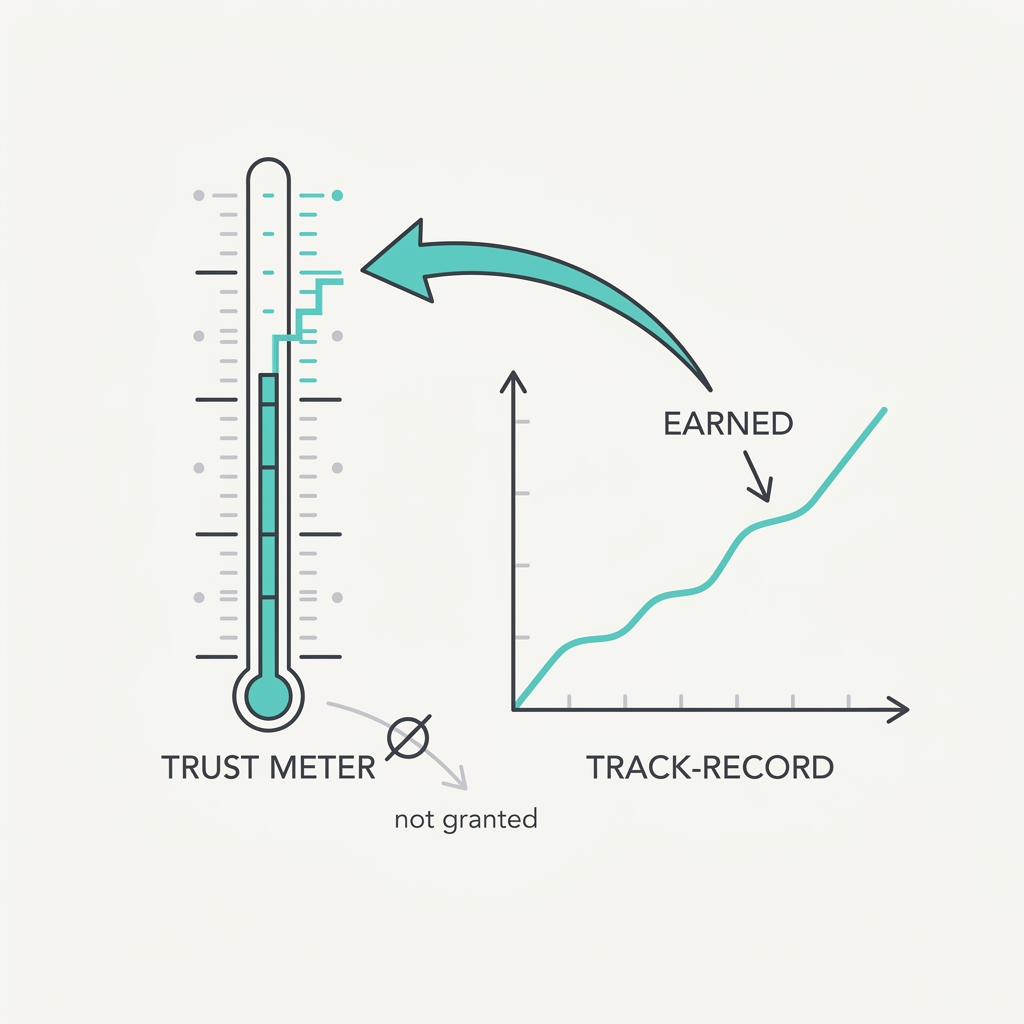
People give an agent freedom the way they give it to a new hire: a little at a time, on reversible things first, loosening the leash only as it proves itself. Both failure modes are real. Over-trust leads to misuse, under-trust leads to a good capability being abandoned. Reliance follows the reliability a system appears to have, not just the reliability it actually has.
The takeaway
Start the agent on low-stakes, reversible actions and widen its blast radius as it proves reliable. Show why it's confident where it's strong and flag where it's weak, so people lean on it exactly where they should.
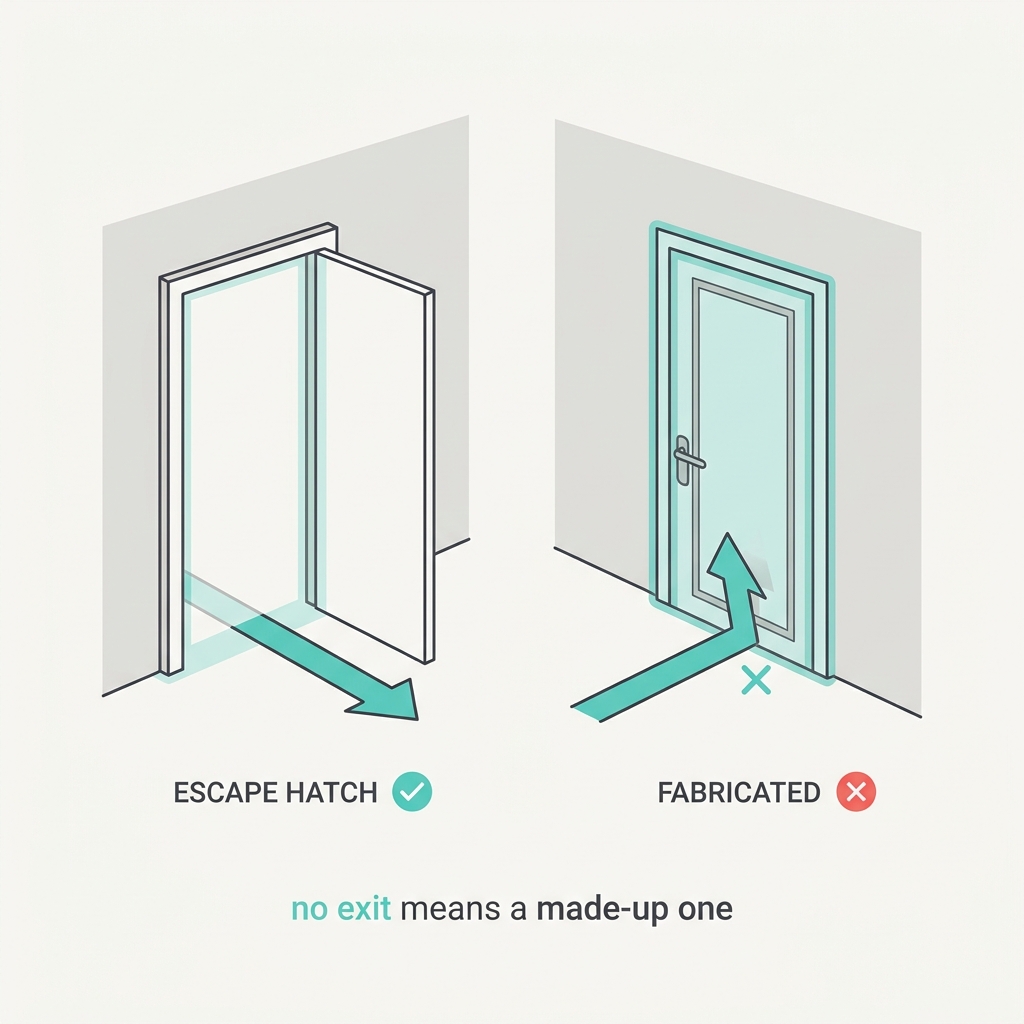
An agent with no legitimate way to say 'I'm stuck' or 'hand this to a human' will invent a path instead. Cornered with no exit, or forced to fill a required field it has no answer for, it makes up something plausible rather than admit the gap. A confident hallucination is the default when honesty isn't an option.
The takeaway
Always give the agent a real way out: an 'escalate to human' action, a nullable field, an explicit 'unknown'. Make 'I don't know' a valid, easy answer and you trade fabrications for honest gaps.
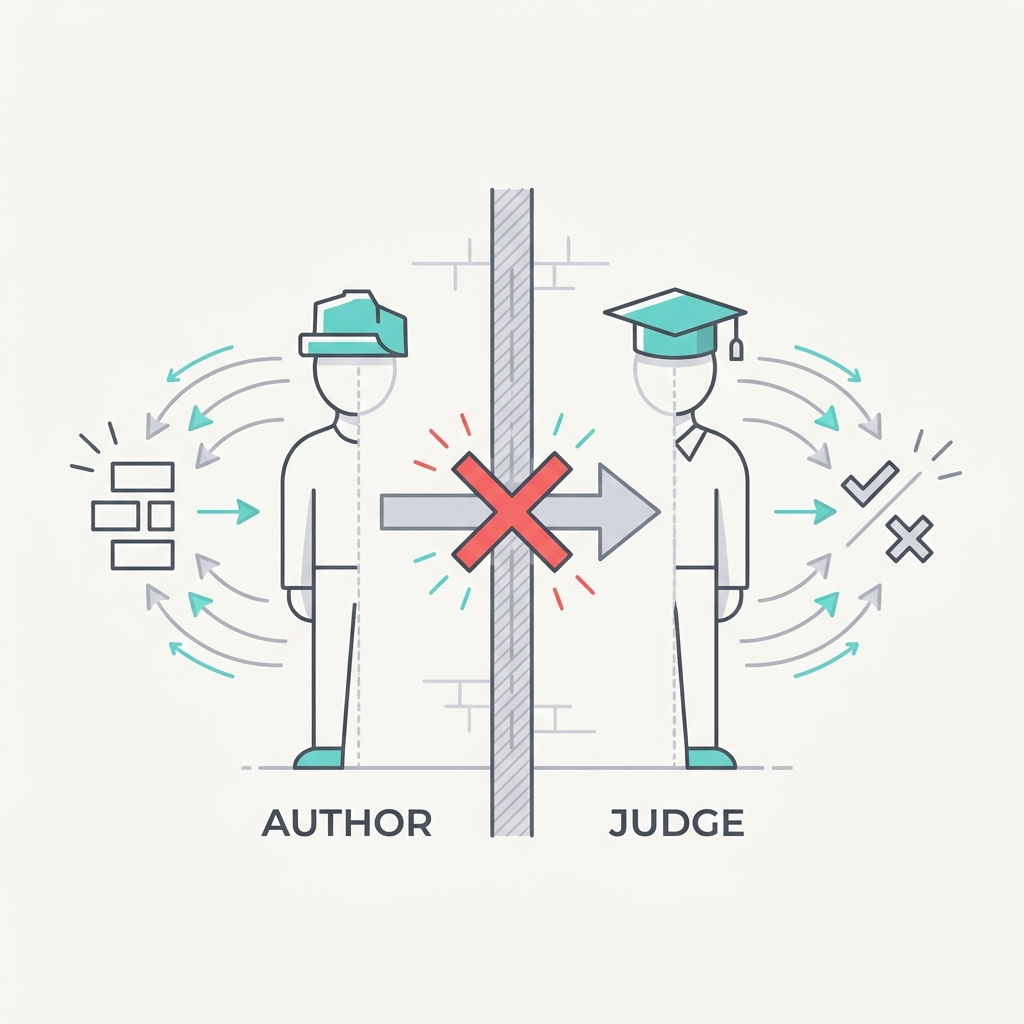
Without an external signal, a model mostly fails to self-correct its own reasoning, and often makes correct answers worse by second-guessing them. The model that produced a flawed plan is the same one judging it, with the same blind spots. Real correction needs an outside signal: a tool result, a test that runs, a different model. 'Reflect and try again' on the same model with no new information is theater.
The takeaway
Separate generation from judgment. Use an independent instance with fresh context and no memory of the original reasoning, or an external check like a passing test, before you trust a 'corrected' answer.
When findings get summarized and re-summarized, the claim survives but its source, its date, and its uncertainty quietly drop away, until you're holding an assertion you can't verify or defend. Two sources disagreeing isn't noise to flatten. It's signal to keep. A fact without its provenance is just a rumor that carries itself well.
The takeaway
Carry the attribution through every transformation: claim, source, date, and confidence. Keep conflicts with both sides attributed instead of quietly picking a winner, so whoever's downstream can audit it, weigh it, and trust it.
Trust & CoordinationRead the law
Free 5-day agent audit course
Learn the failure modes before you buy the kit
Five practical lessons on where AI agents break, each with a real example and a fix. No spam, unsubscribe anytime.
Further reading
The thinking these laws lean on: foundational essays, papers, and docs worth your time.
I've built a lot of AI agents. Along the way I read the papers, the engineering write-ups, and watched more YouTube deep-dives than I'd like to admit. But the thing that actually taught me these laws was shipping agents and watching the same failures show up over and over.
Different platform, different model, different harness, same handful of problems. Context going stale. Tools the model couldn't read. Retrieval that missed the one passage that mattered. Evals that didn't exist until something broke in front of a user. Permissions that were far too broad. No clean handoff when the agent got stuck.
My background is software engineering, and that turned out to matter more than I expected. Most of these failures aren't really AI problems. They're reliability, distributed-systems, and interface problems wearing a new coat. The research gave me the why. Years of writing software gave me the instinct for the fix.
So I built this as my own reference: one place that pulls together what the research says and what actually holds up in production, written as 50 laws I can point to whenever I'm designing an agent.
Every law is backed by a real source, whether a paper, an essay, or hard-won engineering experience. And they're deliberately model-agnostic. The models change every few months. These failure modes don't, because they live in the architecture of agent systems, not in any one model. Internalize them and you'll build agents that are more reliable, more secure, and easier to trust, no matter what you build them with.
Sabir Moglad
Principal Software Engineer. I build AI agents and workflow automations, and I wrote Laws of AI Agents.